
Happy Tuesday, friends! With guests coming in a few short weeks, I’ve been putting some finishing touches in our guest room. Come see a few new additions to the room that I hope will make it pretty and comfortable for male and female guests!
A few weeks ago, I gave myself my own 6-week challenge to make over one room in our house. But, because we are having company in a few weeks, I finished in about a month instead! To refresh your memory, this is where I started. The room was painted a deep gold/yellow color. We didn’t have any touch up paint to fix the nail holes and boo-boos, so I decided to change the color altogether, to a lighter, and brighter shade.

After debating between several shades of neutral paints, I chose Tapestry Beige by Benjamin Moore. (#975) It proved to be a nice neutral beige. The adjoining bathroom and kitchenette have various shades of brown, so out of necessity I had to stick with browns and beiges.

Also, there was no overhead light in this room, so I decided the room would be better served by removing the existing ceiling fan and adding a multi-light chandelier.

My electrician installed this beauty for me. It’s from Home Depot’s Decorator Collection. Just the addition of the new chandelier adds much needed light and glamour.

The headboard in this room is a simple, king-size padded headboard. It went great with the yellow walls, but after I painted the room, I decided to reupholster it to better match the new color scheme. Here’s what it looked like before:

To save money, I decided to upholster the headboard myself. I used a pretty white linen fabric I had on hand and simply stapled the new fabric over the old. To read more about how to reupholster a headboard you can click here: How to Recover a Padded Headboard!

Before I started on this guest room, there was no space on the right side of the bed for a night stand or table. So, after I painted the room and gave the headboard a little makeover, I moved the bed over several inches to the left so there would be room for a tiny night stand on each side of the bed. I don’t know about you, but I like a small table beside my bed to hold a water bottle and cell phone, etc. And this is how it looks now!

This tiny vintage table was originally green, but I painted it black. I used an oil-based, semi-gloss paint for durability. Plus, the black looks perfect with the tailored bedskirt and other black accents in the room. Like they say, “every room needs a little bit of black”. I agree! Other than pink, black is my second favorite color!

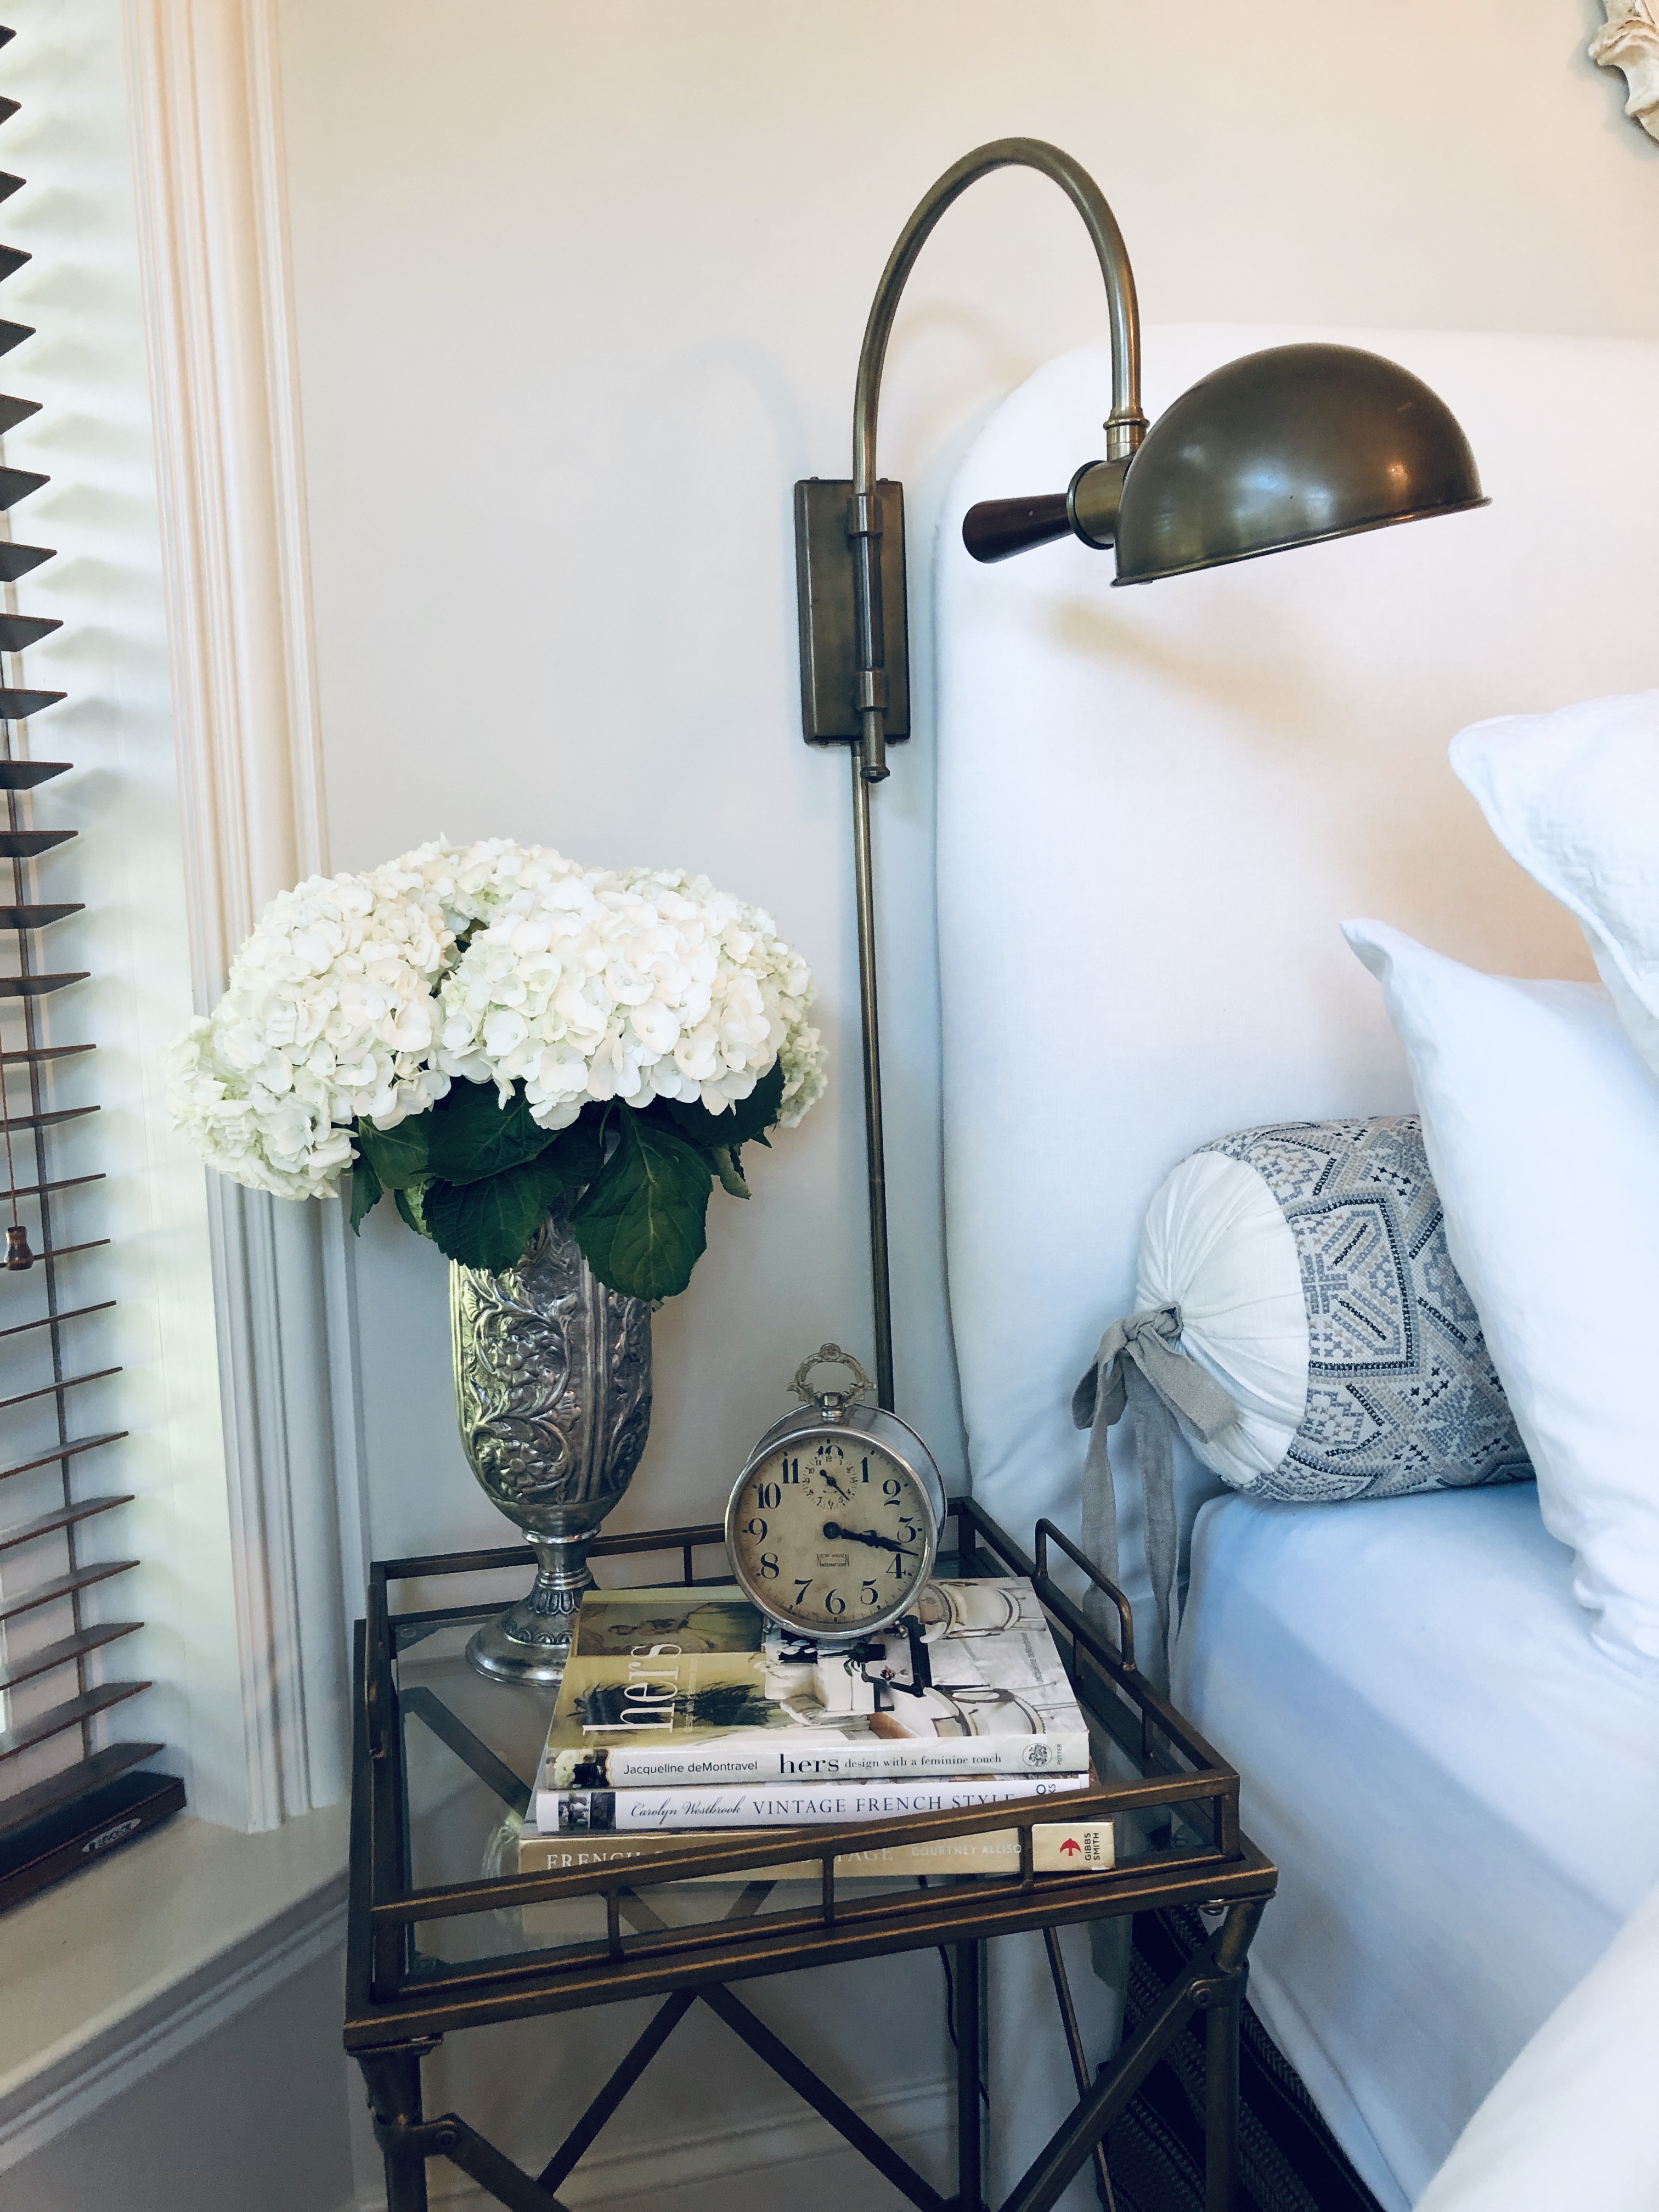
On the other side of the bed is just enough room for a small, square table. Because there is a wall sconce here, there is no need to take up valuable space on this table with a lamp. So, it got some fresh hydrangeas, a few lovely books and a vintage clock. I love mixing old and new! It makes for such interesting vignettes.

This is the view from the other side of the room. I am so pleased with how the room turned out! I have a few more things to tweak on the opposite side of the room, but it’s coming together nicely. The lighter color paint and the newly covered headboard adds a soothing and hotel-like quality to the room. Because the bones of the room are so neutral, it will be easy to add seasonal punches of color, like at Christmas!

I figure the cost of this makeover is around $350. I repurposed almost everything, including the furniture, bedding and lamps. My biggest cost was the chandelier, its installation, and paint. (Happily the paint was on sale 30% off.) Doing my own painting and upholstering saved us a bundle! My thriftiness in one room, gives me the freedom to splurge a little in other areas, such as the adjacent bathroom! (My husband will laugh, because he doesn’t think I have a thrifty bone in my body, but clearly I have at least one!) Meanwhile, isn’t it amazing what a bit of paint and elbow grease can accomplish?


I hope to share the guest bathroom with you this week. The new sconce is installed and it’s a beauty! I can’t wait to share the new changes in there too! Thank you for stopping by! Be sure to check out more pictures on Instagram and Facebook under dellsdailydish! Let’s chat soon! xoxo Dell