
Greetings, friends! I thought I would share with you one of my most recent projects. A chandelier make-over and a chandelier tree….
Weather permitting, I love to work on my chandelier make-overs outside. Or, any of my make overs for that matter. A-I love being outdoors and B-It’s much less of a mess when spray painting. Here is my secret. I like to hang my chandeliers from the limbs of the trees that line our driveway. This way I don’t risk over spray reaching our cars or house. Which is something nice to avoid.
So, I use large S-hooks and hang the chandeliers from sturdy tree limbs. This is handy because I don’t need to turn the fixture or handle it while the paint is drying. Also, its easy to get to all angles of the fixture including underneath.
So, this past weekend I hung a chandelier from each tree lining our driveway in order to work on them all at once. The irony is my neighbors are so accustomed to lights hanging from trees in our yard, they don’t bat an eyelash anymore. I have the best neighbors! Usually they just stop by to chat and comment on my latest project. This is one of three lights I worked on this weekend….
 This is a light I’ve had in my stash for quite a while. I love the over size shape and scale of the light but the yellow/gold was a bit much. So, I thought it could use a little face lift. This is how it looked in my treasure room. It came with lots of pretty clear glass beads and some amber accent tear drop crystals. At first I wasn’t sure about the amber, but I’m really taking a shine to them now. They are very unique and made of real glass.
 Here’s a close up of the beads and crystals. Such a cool fixture, right? (I bought it from my friend, Tracy, who owns Vintage Funk. Vintage Funk is a charming store packed with reasonably priced antiques and repurposed treasures. She has such a great eye for the fun, funky, unique and antique! Trust me, when you visit, you will not leave empty handed!)
 I love all of the layers of leaves and tons of opportunities for more beads and crystals.
 I removed all of the beads and amber crystals. Then I covered the sockets with saran wrap for protection and replaced the socket covers in order to paint. See the glass orb in the middle? I thought it dated the fixture a bit so I decided to paint over it as well. (I protected the tree and mulch with a few drop cloths.)

 I covered the entire fixture with a few good coats of semi gloss black spray paint. Then I dry brushed the entire fixture with antique gold rub n’ buff. I used a small stippling brush for the small tight spots and my finger to rub on the larger areas. (TIP: Use gloves) I left the socket covers black for a bit of contrast. (Oops. In my zeal to finish I forgot to take a picture of the fixture painted black. But I’m sure you can picture it).
 Here is a close up of the new gold leaf look: I think this color combination makes the piece look more updated and classic. It was a good call to leave the socket covers black.
 All in all I’m very pleased with the results. Gone is the sparkly yellow/gold color replaced with a richer antique gold. I think it was a good decision to paint the glass orb in the center too. The gold leafing really defines the pretty contours of the leaves and petals and gives it more dimension.
 I added back the glass beads and most of the amber colored tear drop crystals. (Sorry for the ugly backdrop of the fire extinguisher, etc.) I was anxious to see how the chandelier looked with all of the beads back in place but I’ll need to remove them again before installation. Nothing like making extra work for myself but I couldn’t help it. I love it!
 Normally I prefer the octagonal crystal bead garland, but I love the modern vibe of the glass beads. Plus, I like to use original parts if possible when I’m doing a make over. Unless they are plastic, then it’s a definite NO.
 I love how the beads criss-cross underneath the arms. I bet the glass beads will really sparkle and will look gorgeous on a dimmer in the dining room.
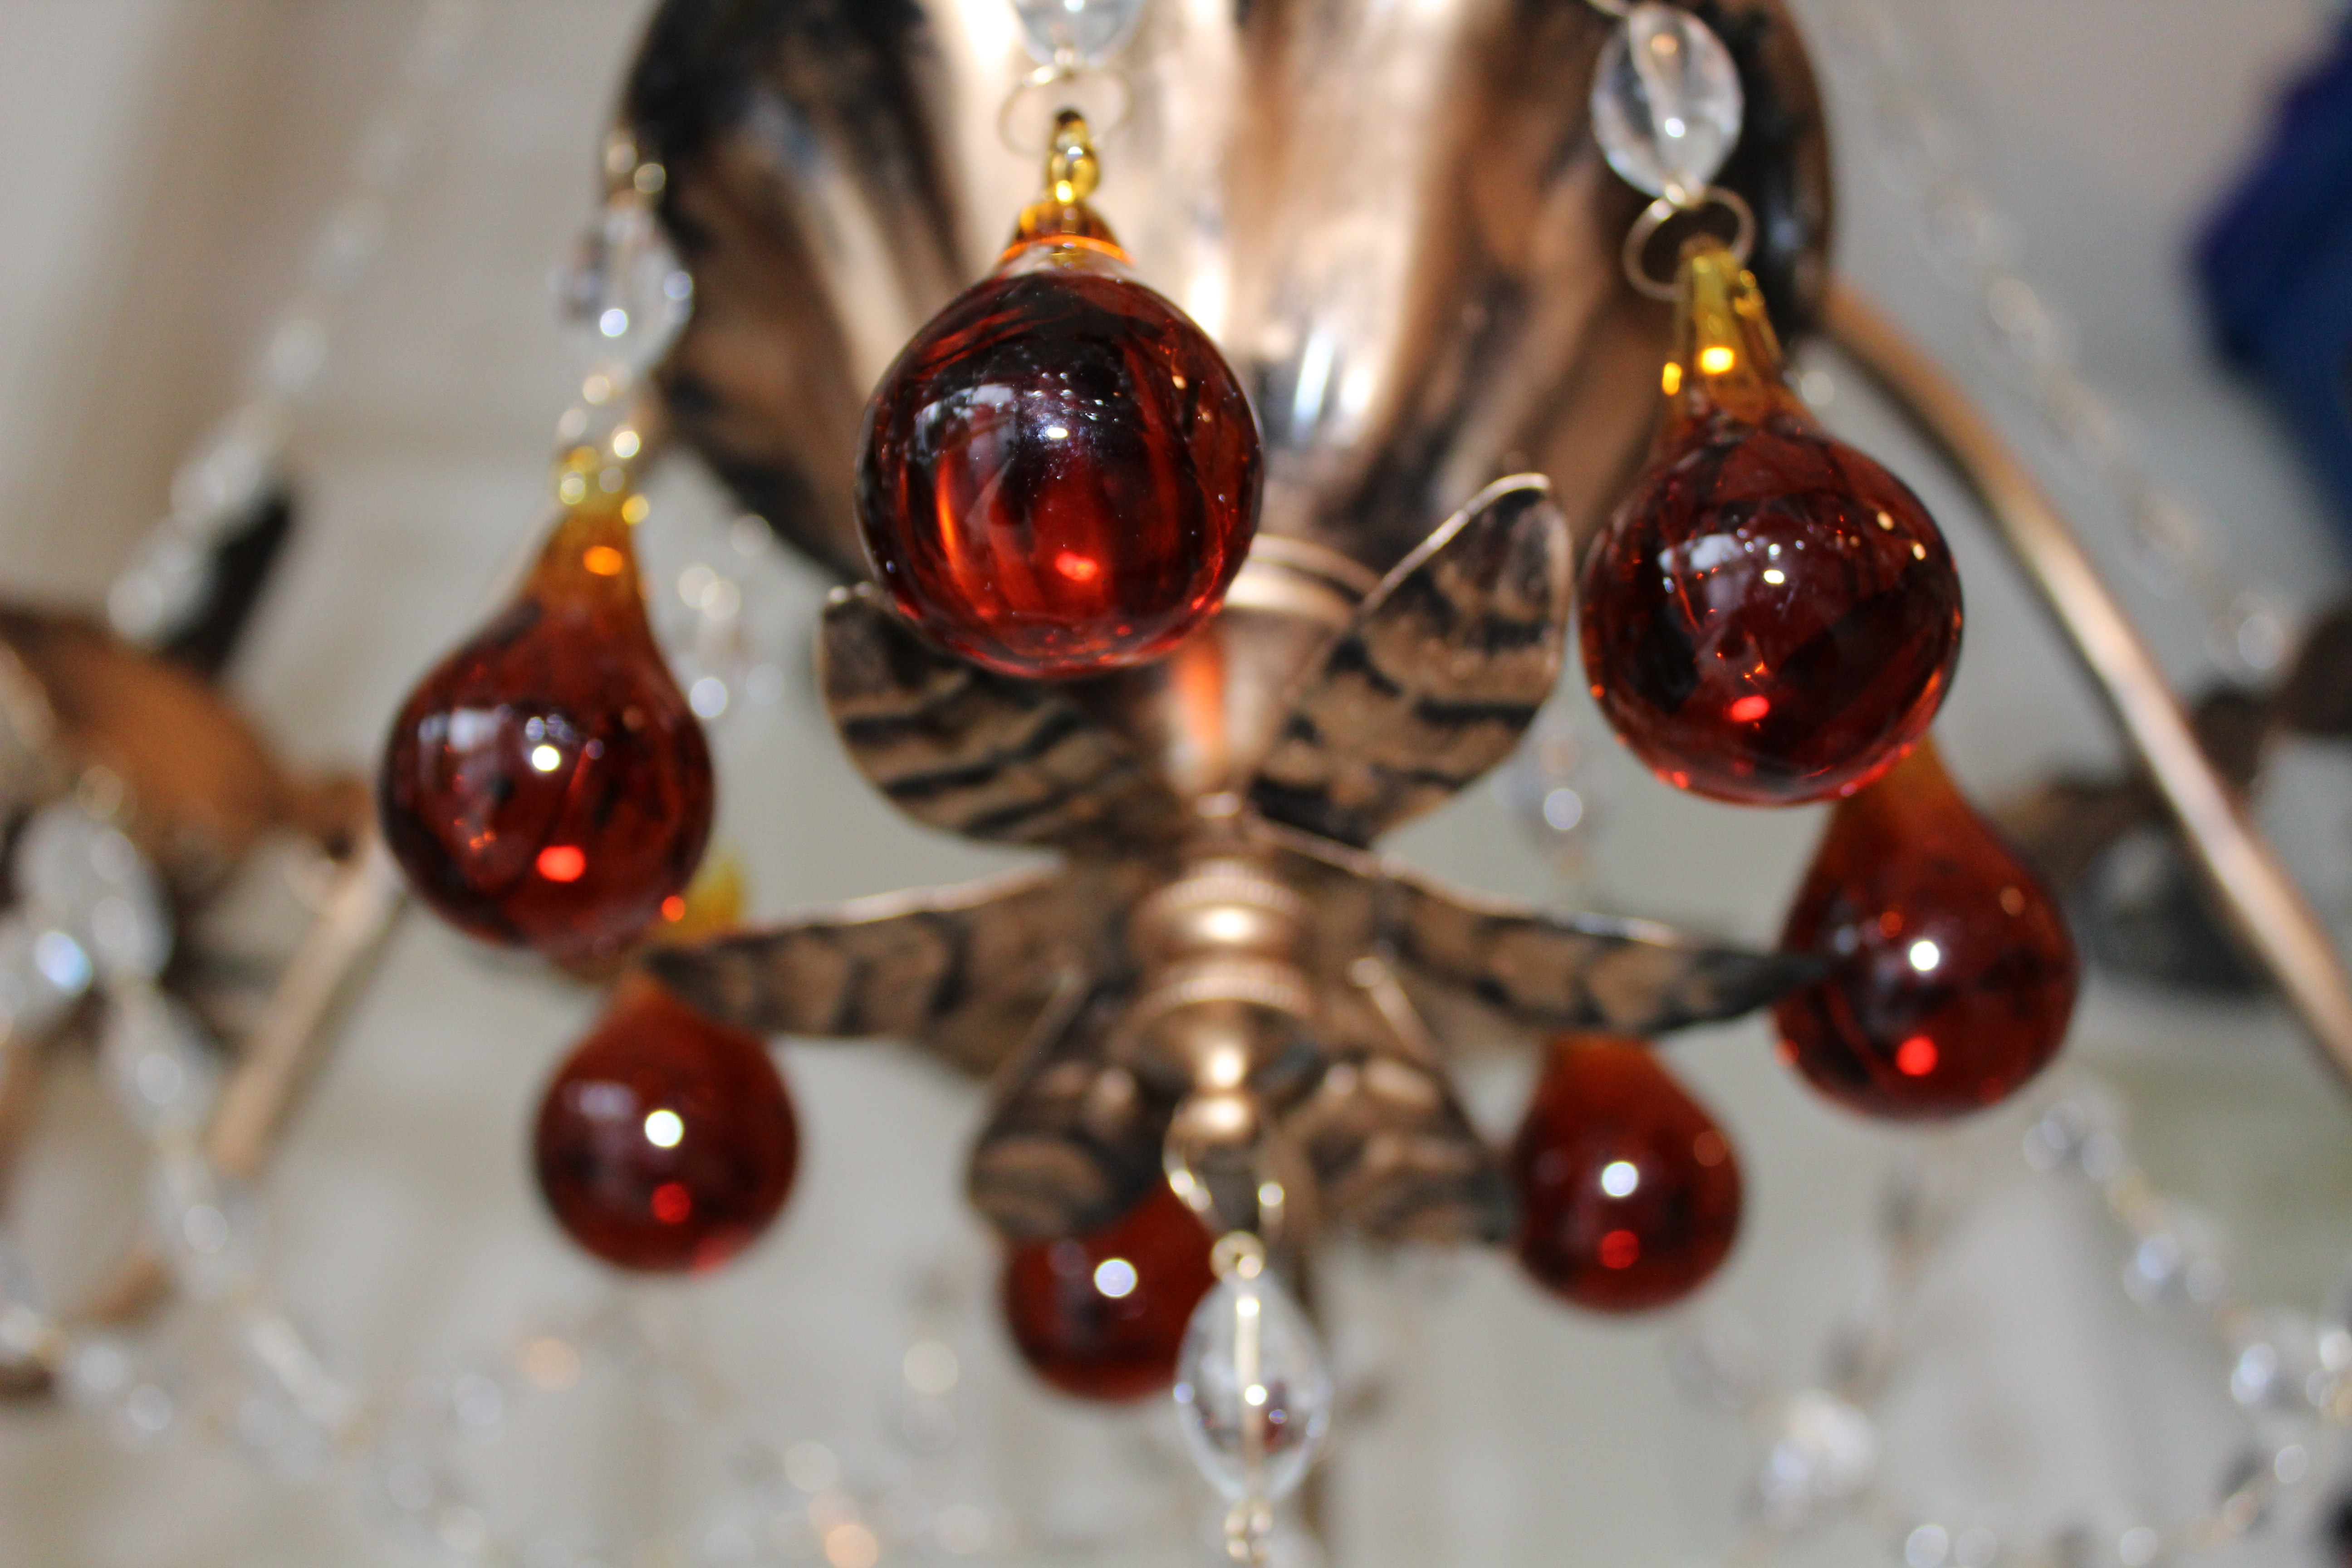
 This is the bottom tier of the chandelier. This will be near eye level when seated at the dining table. Pretty, right?
 The chunky amber crystals are so unique and fun. I think this is going to be a beauty when it’s hung!
 Note to Self: Dear Dell, please do not get attached to this chandelier. It needs to stay with the house.


I’m replacing this fixture with the one I’m taking with me in the dining room. I am determined to leave behind a little piece of me with the house. Plus, because the buyer really loved my original, I wanted to give them a truly one of a kind fixture in its place. I hope they love it as much as I! And do I love this chandelier now? SHINE, YEAH! (As they say in some parts of the South).
I hope you have a lovely day! Thank you for stopping by for another chandelier story. In a few short months, maybe I’ll have some of my make overs hanging in a new house! I’ll keep you posted. Take care, xoxo Dell