
Happy Monday, my friends! I can hardly believe it’s September! Probably because the temperatures feel more like August. Hopefully it will cool down soon, because I do NOT enjoy painting in the garage in 90 degree weather! Anyway, come see how I gave this sweet little wall rack a make over with chalk paint!
I bought this darling little wall rack a few years ago, mainly because my older son loves elephants. It’s made from a section of an old door panel with a pair of wrought iron elephant hooks screwed to the front. Although it’s pink, I hung it in his room at our lake house for a few years. After a while, I replaced it with a wall hook for his guitar and it seemed better suited for a guy’s room. The pink rack went into storage until I ran across it the other day and decided to give it a mini- makeover. I had some gray chalk paint in my stash and decided it would look better painted gray. Here’s where we started:

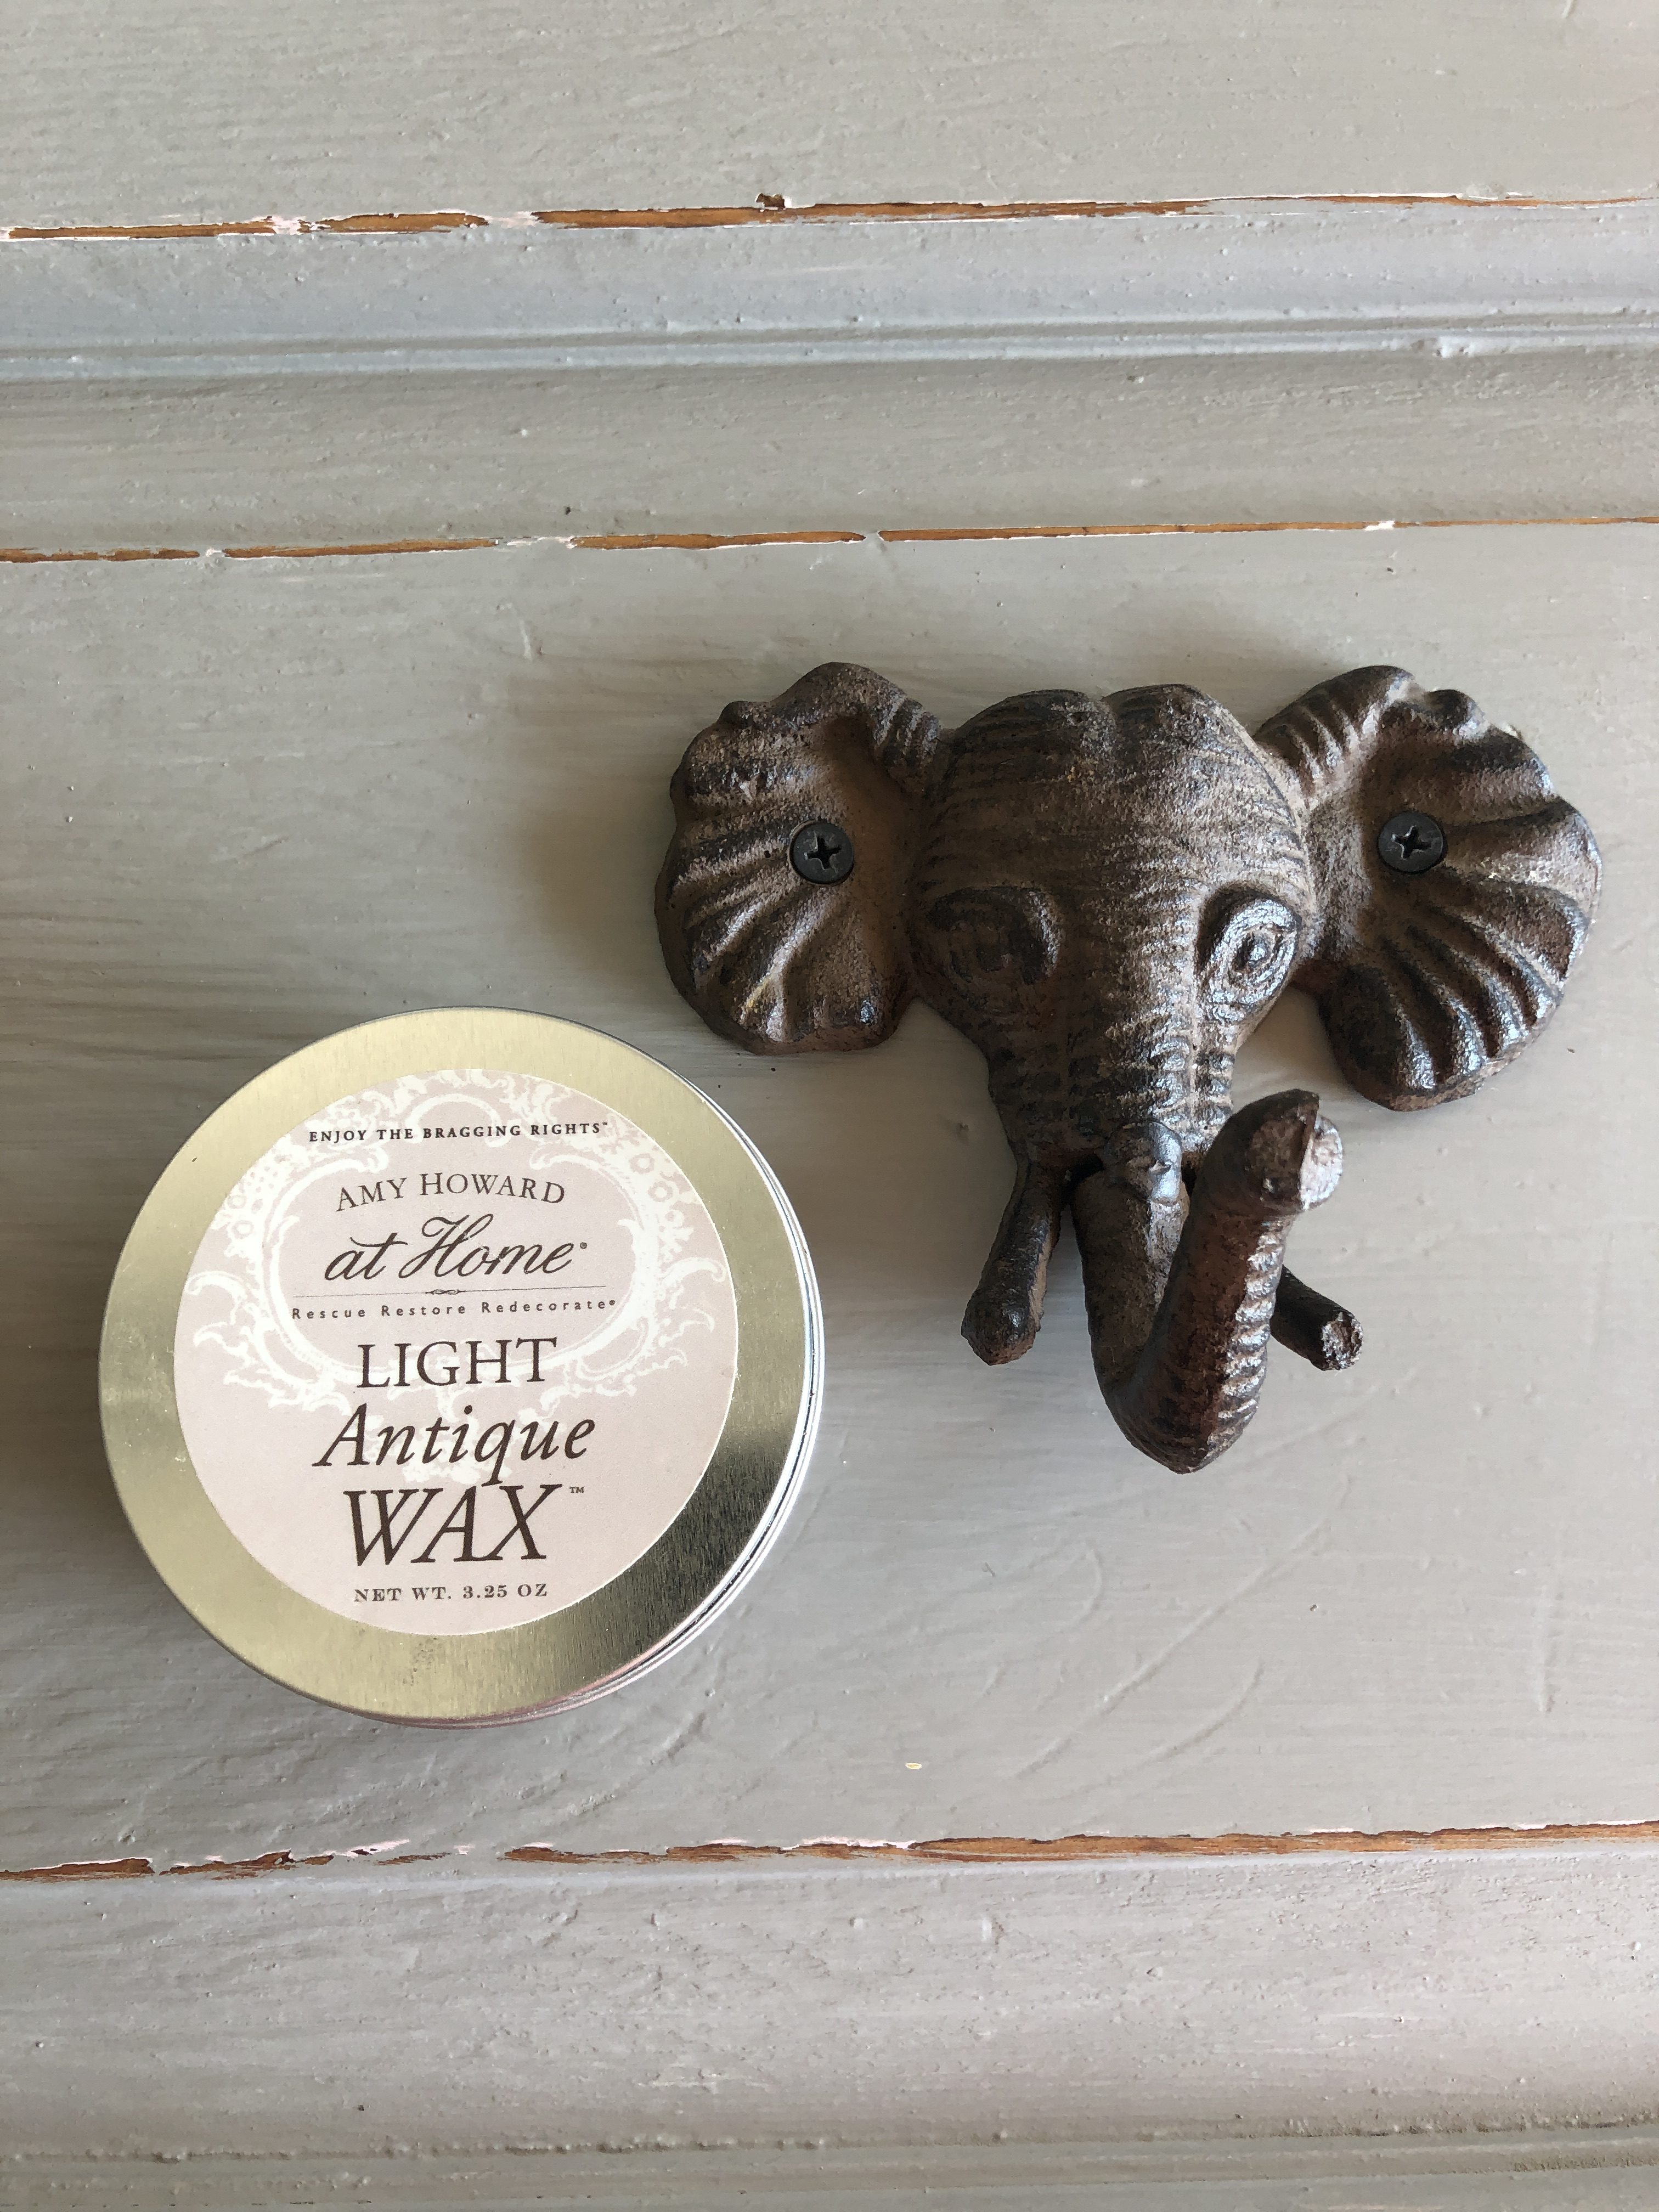
Here’s a close up of one of the hooks. Isn’t it adorable? I also love the distressed details on the wood panel so I decided to mimic the look on my makeover.

I removed the hooks which were simply screwed into place with two phillips head screws. I cleaned them and set them aside. I gave the panel a quick scrub with a sanding block just to knock off some of the splintery pieces, and smooth the edges. Then it was ready for paint!

I had about ½ quart of this Amy Howard at Home-One Step Paint leftover from a previous project. It’s called, “Selznick Gray.” It was VERY thick and clumpy, so I added a few teaspoons of water and took it to Lowe’s and asked them to shake it up for me. (I buy SO much paint from them, they know me and gladly shake up my paint, when asked.) It helped tremendously!

I painted over the pink with two coats of the gray chalk paint. After the paint was thoroughly dry, I gave the raised edges a good scrub with a sanding block until some of the paint was removed and the original wood exposed.

I just sort of eye-balled where I thought wood would naturally wear. Then, I blew off the dust and wiped down the panel.

I also had some Light Antique Wax by Amy Howard at Home and and rubbed the entire piece with a bit of wax to give it a nice finish. It only takes a small amount of wax, so basically you wipe it on and off at the same time. No drying time needed.

Then I screwed the hardware back into place using the original screws and hooks.

I love how it turned out! It was so simple and didn’t cost me a penny. Don’t you love it when something is so quick and easy and nets the desired results? I sure do! This cutie will probably hang in the basement closet to hold a few belts or hats.

Here’s a quick before and after picture. You probably can’t tell, but when I sanded the edges a tiny bit of pink paint peeked through. And, I’m not bothered by it one bit! Pink is my favorite color and it reminds me that I gave this piece a tiny makeover. There are two D-Hooks on the back for ease of hanging.


It would be so easy to recreate this look with any sort of hooks and a wooden panel. And if you are like me, you probably have plenty of spare paint from previous projects just waiting to be used! Well, it’s too hot to work on another fun painting project that I’ll share later, so for now, I’m catching up on the laundry from our mountain trip and trying to decide what to cook for dinner. Have a great evening sweet friends! What are you working on? Anything fun? Do tell! Let’s chat again real soon. xoxo Dell