
Happy Wednesday, Friends! I have something super fun to show you today! And I can’t believe my husband and I finished a project so quickly. Come see how we transformed a vintage dresser into a bathroom vanity! I think you’ll like it…
Ever since we moved into our new house, we planned to remodel a few areas to better suit our taste and needs. One area is the powder room on the main floor. And while the room was functional, it didn’t quite match our style. Plus, the existing vanity provided no storage space and was a bit wobbly. Here is the before picture. Lots of high-end materials but it still has a masculine feel. And you know me. I like a little bling. Or a lot.

We decided to search for a vintage dresser or buffet we could turn into a vanity for this space. We kept looking until this past week I stumbled upon this charming piece on Facebook Marketplace. It’s from the 1930’s and was lovingly restored by my new friend, Lisa of Bee’s Timeless Treasures in Mooresville, NC.

No sooner had Lisa listed the piece, I responded. My husband, Brad and I, picked it up that very day! The dresser is the perfect size for a vanity measuring 33 ½” high, 40″ wide and 19″ deep. First things first, we dismantled the existing vanity. Brad shut off the water, disconnected the pipes and removed the vessel sink and hardware.

And wallah! No more metal vanity. (I had the ceiling fixture replaced a few months ago with my Parisian crystal chandelier, and I love it!)

This is the back of the dresser. Brad measured the height and width of the plumbing on the powder room wall and matched it to the back center of the dresser.

He cut out a rectangle from the back of the vanity to allow for the pipes and so the vanity would fit snuggly against the wall. Measure twice, cut once, so the saying goes.

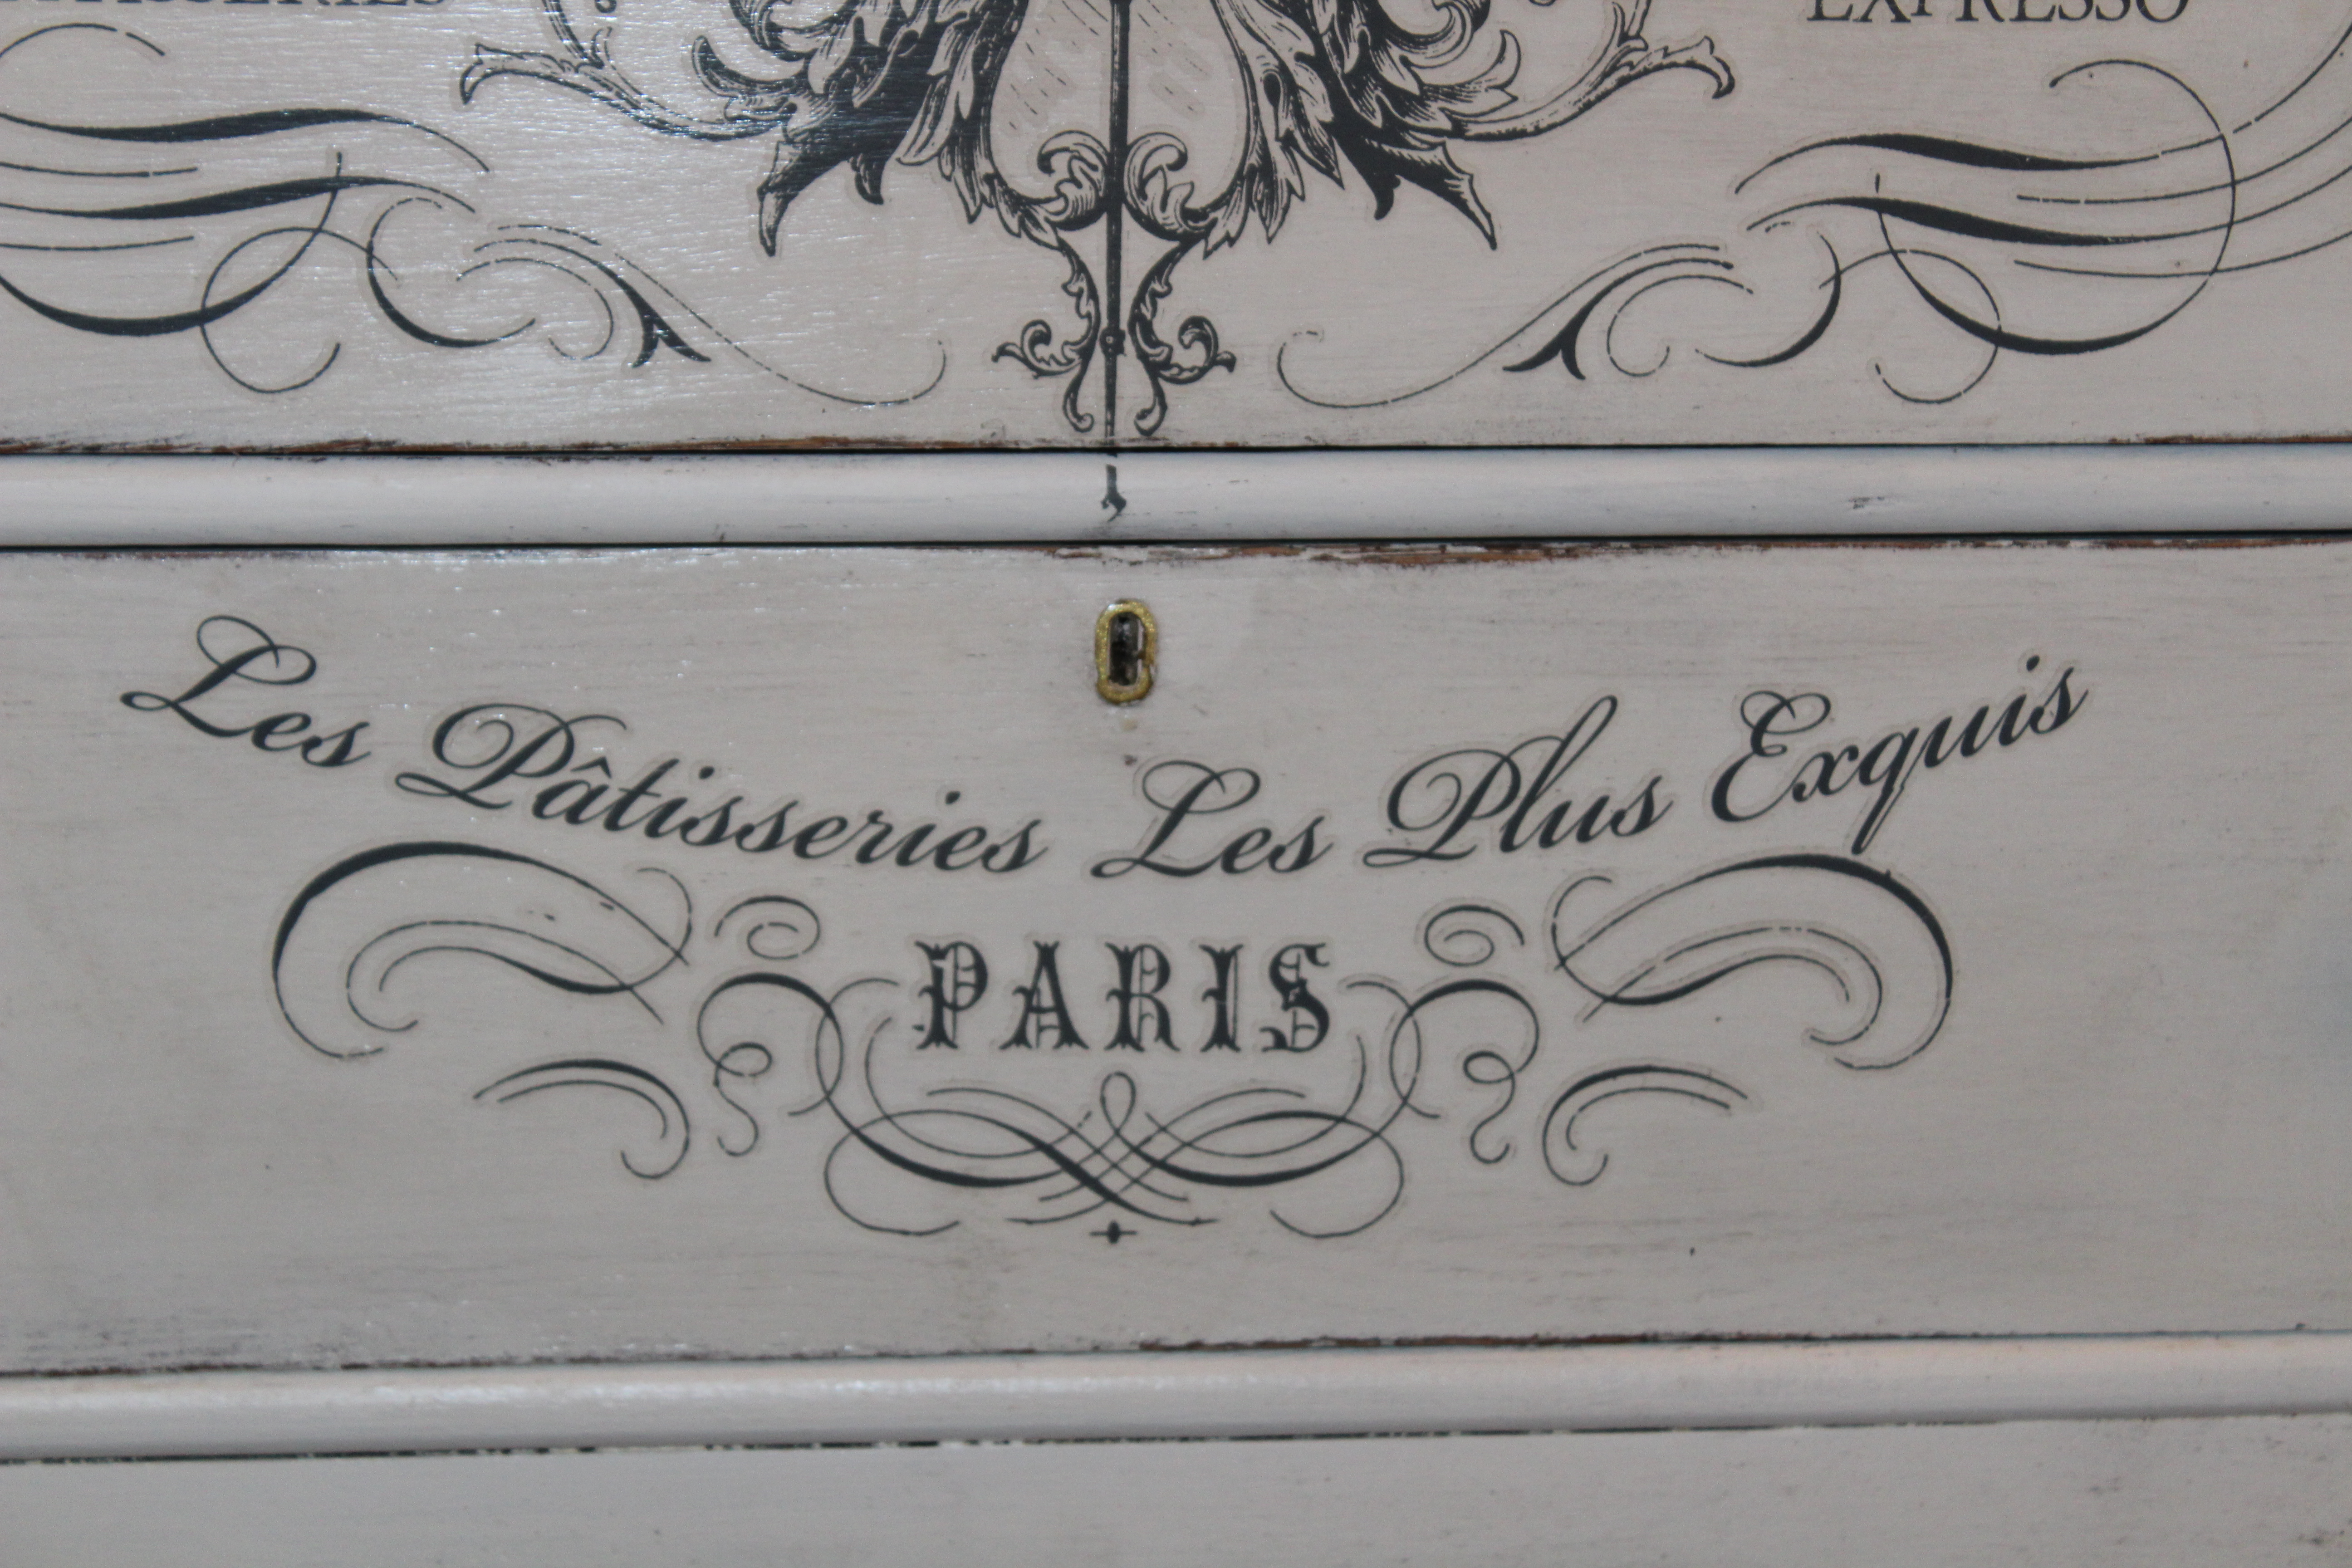
This is the top of the dresser. Don’t you love the French decals? I really and truly hated to mess up the top of this piece but there was no choice.

The existing vessel sink and gold hardware are beautiful and high-end, so we decided it would be a shame to replace them. And expensive! We also chose to keep the same configuration on the vanity to save space. By off setting the sink and hardware, we could keep the drawer on the top right for much-needed storage. Therefore, we used the old vanity top as our template and marked the holes.

This was definitely the scary part! Brad drilled a pilot hole on the edge of the circle with his drill, then cut out the holes for the sink and hardware using a jigsaw. (Tip: Use caution not to bear down too hard while cutting out the holes as it can mar the surface.) Then the top of the piece was ready for the next step!

This powder room is located on the main floor and is the primary bathroom for guests, so we wanted to make sure the vanity top was hardworking and waterproof (ish). Plus, I didn’t want the decals to scratch off over time. After a quick trip to Lowe’s, I came home with a protective top coat.
The employee at Lowe’s recommended a water-based Polycrylic Protective Finish by Minwax. I chose the clear matte finish. Not only is this product fast-drying, the finish is clear and cleans up easily with water. ( TIP: DO NOT SHAKE the can. Gently stir and follow all manufacturer’s instructions.) I applied three thin coats of the sealer with a paint brush on top of the piece, making sure to match my brush strokes with the grain of the wood. I let each coat dry between applications. I also applied one coat all over the rest of the vanity for protection. Honestly, it could have used a few more coats but I was too anxious to finish the project!
Once the polycyclic dried, we moved the vanity into position. Brad reattached the faucet and handles. Isn’t it such a feeling of satisfaction when everything works and is perfectly aligned?

Brad re-installed the plumbing and vessel sink. He ended up buying new flexible tubing to connect the hot and cold water, but it was an inexpensive and easy fix. We have water!

And here is the new vanity in place! We ended up cutting down the drawer on the right but it’s still functional, as is the bottom drawer. The top left and middle drawers had to be sacrificed for the plumbing, but two drawers are still better than none!

I love how the new vanity turned out! And I think the eclectic combination of the vintage dresser and the modern sink and hardware work together seamlessly.

This powder room is tough to photograph well because of the angles, but you get the picture. (Plus, I’m not a professional photographer.) We have a few more things to do in this room, but for now we have a functional and charming Loo! One more thing checked off of the list prior to the holidays. Although the mirror and sconces are pretty, I still have my eye on a mirror by Anthropologie. And maybe some crystal sconces? Christmas gift? Hint, hint…

A quick before and after. The piece itself was $150. Other than that, our only out-of-pocket costs were the flexible pipes, some plumber’s putty, a paint brush and some Polycrylic.


Here’s a before and after of the vanities. Don’t get me wrong, there is nothing wrong with the old vanity. It simply wasn’t our style. With a few changes, the powder room now feels like ours. And isn’t making a house your home what it’s all about?


Thank you for stopping by today! I hope you like our “new” vanity! This project took my husband and me the better part of a day to complete. And boy, it feels good to have one project finished!! We are still working on the Butler’s Pantry and a few other areas, which I’ll share soon. Do you have a finished project you’d like to share? Please send pictures and details! I’d love to hear from you! Please have a safe and Happy Halloween! Xoxo Dell