
TGIF, sweet friends! I know I’ve been MIA lately, but we’ve been super busy. But I can’t wait to share with you this fun little project we did this week at the lake house. Come check out our sailboat shutters! (Hint: They look better than this…)
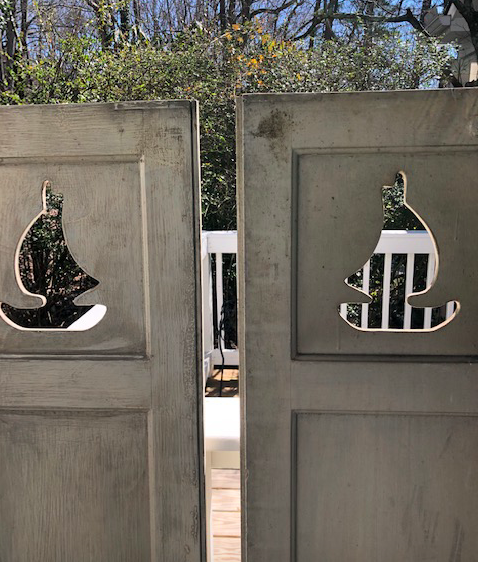
Several years ago, I found these adorable sailboat shutters at an antique store. I think they were around $50 for the pair and I thought they would look cool at our lake house. So I bought them and took them to the lake where they sat, and sat and sat…

A few weeks ago I finally talked my husband into hanging them for me. But first, they needed LOTS of work. The paint was very old and had badly crackled. Out came my handy palm sander! I sanded them thoroughly on both sides.

This is where I decided to hang the shutters. It’s a little covered breezeway between the front porch and the garage. Don’t you agree this window needs a little something?

The shutters were too long for this window, so hubby cut them down about 12 inches and added a piece of trim to the bottom.


The small piece of trim gives the shutters a more finished look. (He also cut off the old hinges with his saw-zaw.)


Time for paint!!

I painted two coats of white semi-gloss paint to match the other shutters on the house. (It’s Designer White by Clark & Kensington.)

Here’s how the shutters look installed! This little addition makes me so happy! And my husband is happy because the shutters are out of his garage and I will finally stop bugging him about them. (I think he secretly loves them, too.)

Here’s a quick before and after of the window. I think the window is saying to the shutters, “You complete me.”


I’m always amazed at the power of paint, aren’t you?

So, one more project in the books for Happy Hill! And it’s Friday! Let’s weekend friends! xoxo Dell