
Happy Thursday, friends! I’ve had major technical difficulties the last few weeks is why I’ve been away for so long! Long story short, I updated my website to a current version of WordPress, and all of a sudden, I couldn’t post anymore. My posting format was completely gone! So, after several attempts, I finally found someone to fix it online via WordPress Fix Runner. Thank heaven! Meanwhile, I did a few new projects at our house. Come check out my new gallery wall!
This long wall in our basement has been a conundrum for me ever since we moved in. The door in the middle is to the wine cellar and to further complicate things, the walls on each side are not the same width. I tried several different mirrors and pictures here over the years but nothing seemed to look right. Then I realized what it needed was symmetry!

I had some botanical prints in my treasure room and decided they would be perfect! There are 12 of them so I thought that 6 prints on each side of the door would bring the balance I was craving. And for that gallery look, I wanted the prints to be fairly close together.
First, I laid the prints out on the floor so I could visualize what it would look like and how far apart I wanted them to be. I measured the distance between the hooks on the back of the prints and added 3 inches. I also wanted the top prints to hang a little below the door moulding so I took that into account. On the left side of the door is the light switch to the wine cellar so the bottom prints needed to clear that.
When hanging pictures, the rule of thumb is to place them at eye level, which is about 57-60 inches off of the floor. And if you are hanging a group of pictures, treat the entire grouping as one. Using a tape measure I decided where the first picture on the bottom would go and measured 73 inches from the floor and made a pencil mark. Then I measured how far from the door I wanted the picture to go and made a mark, then hammered in a nail. I hung the print then held the next one above it to make sure it wouldn’t be taller than the door frame. Again I spaced them 3 inches apart by measuring the height of the frame plus 3″. I took the first print back down and used a yard stick and a level to mark the nail hole for the top print. After I hammered in each nail, I measured where the next print would go, again using my yard stick and level. To my astonishment I didn’t need to move one nail! (A miracle from above because usually my motto is “spackle can fix that.”) This is the completed gallery wall on the right.
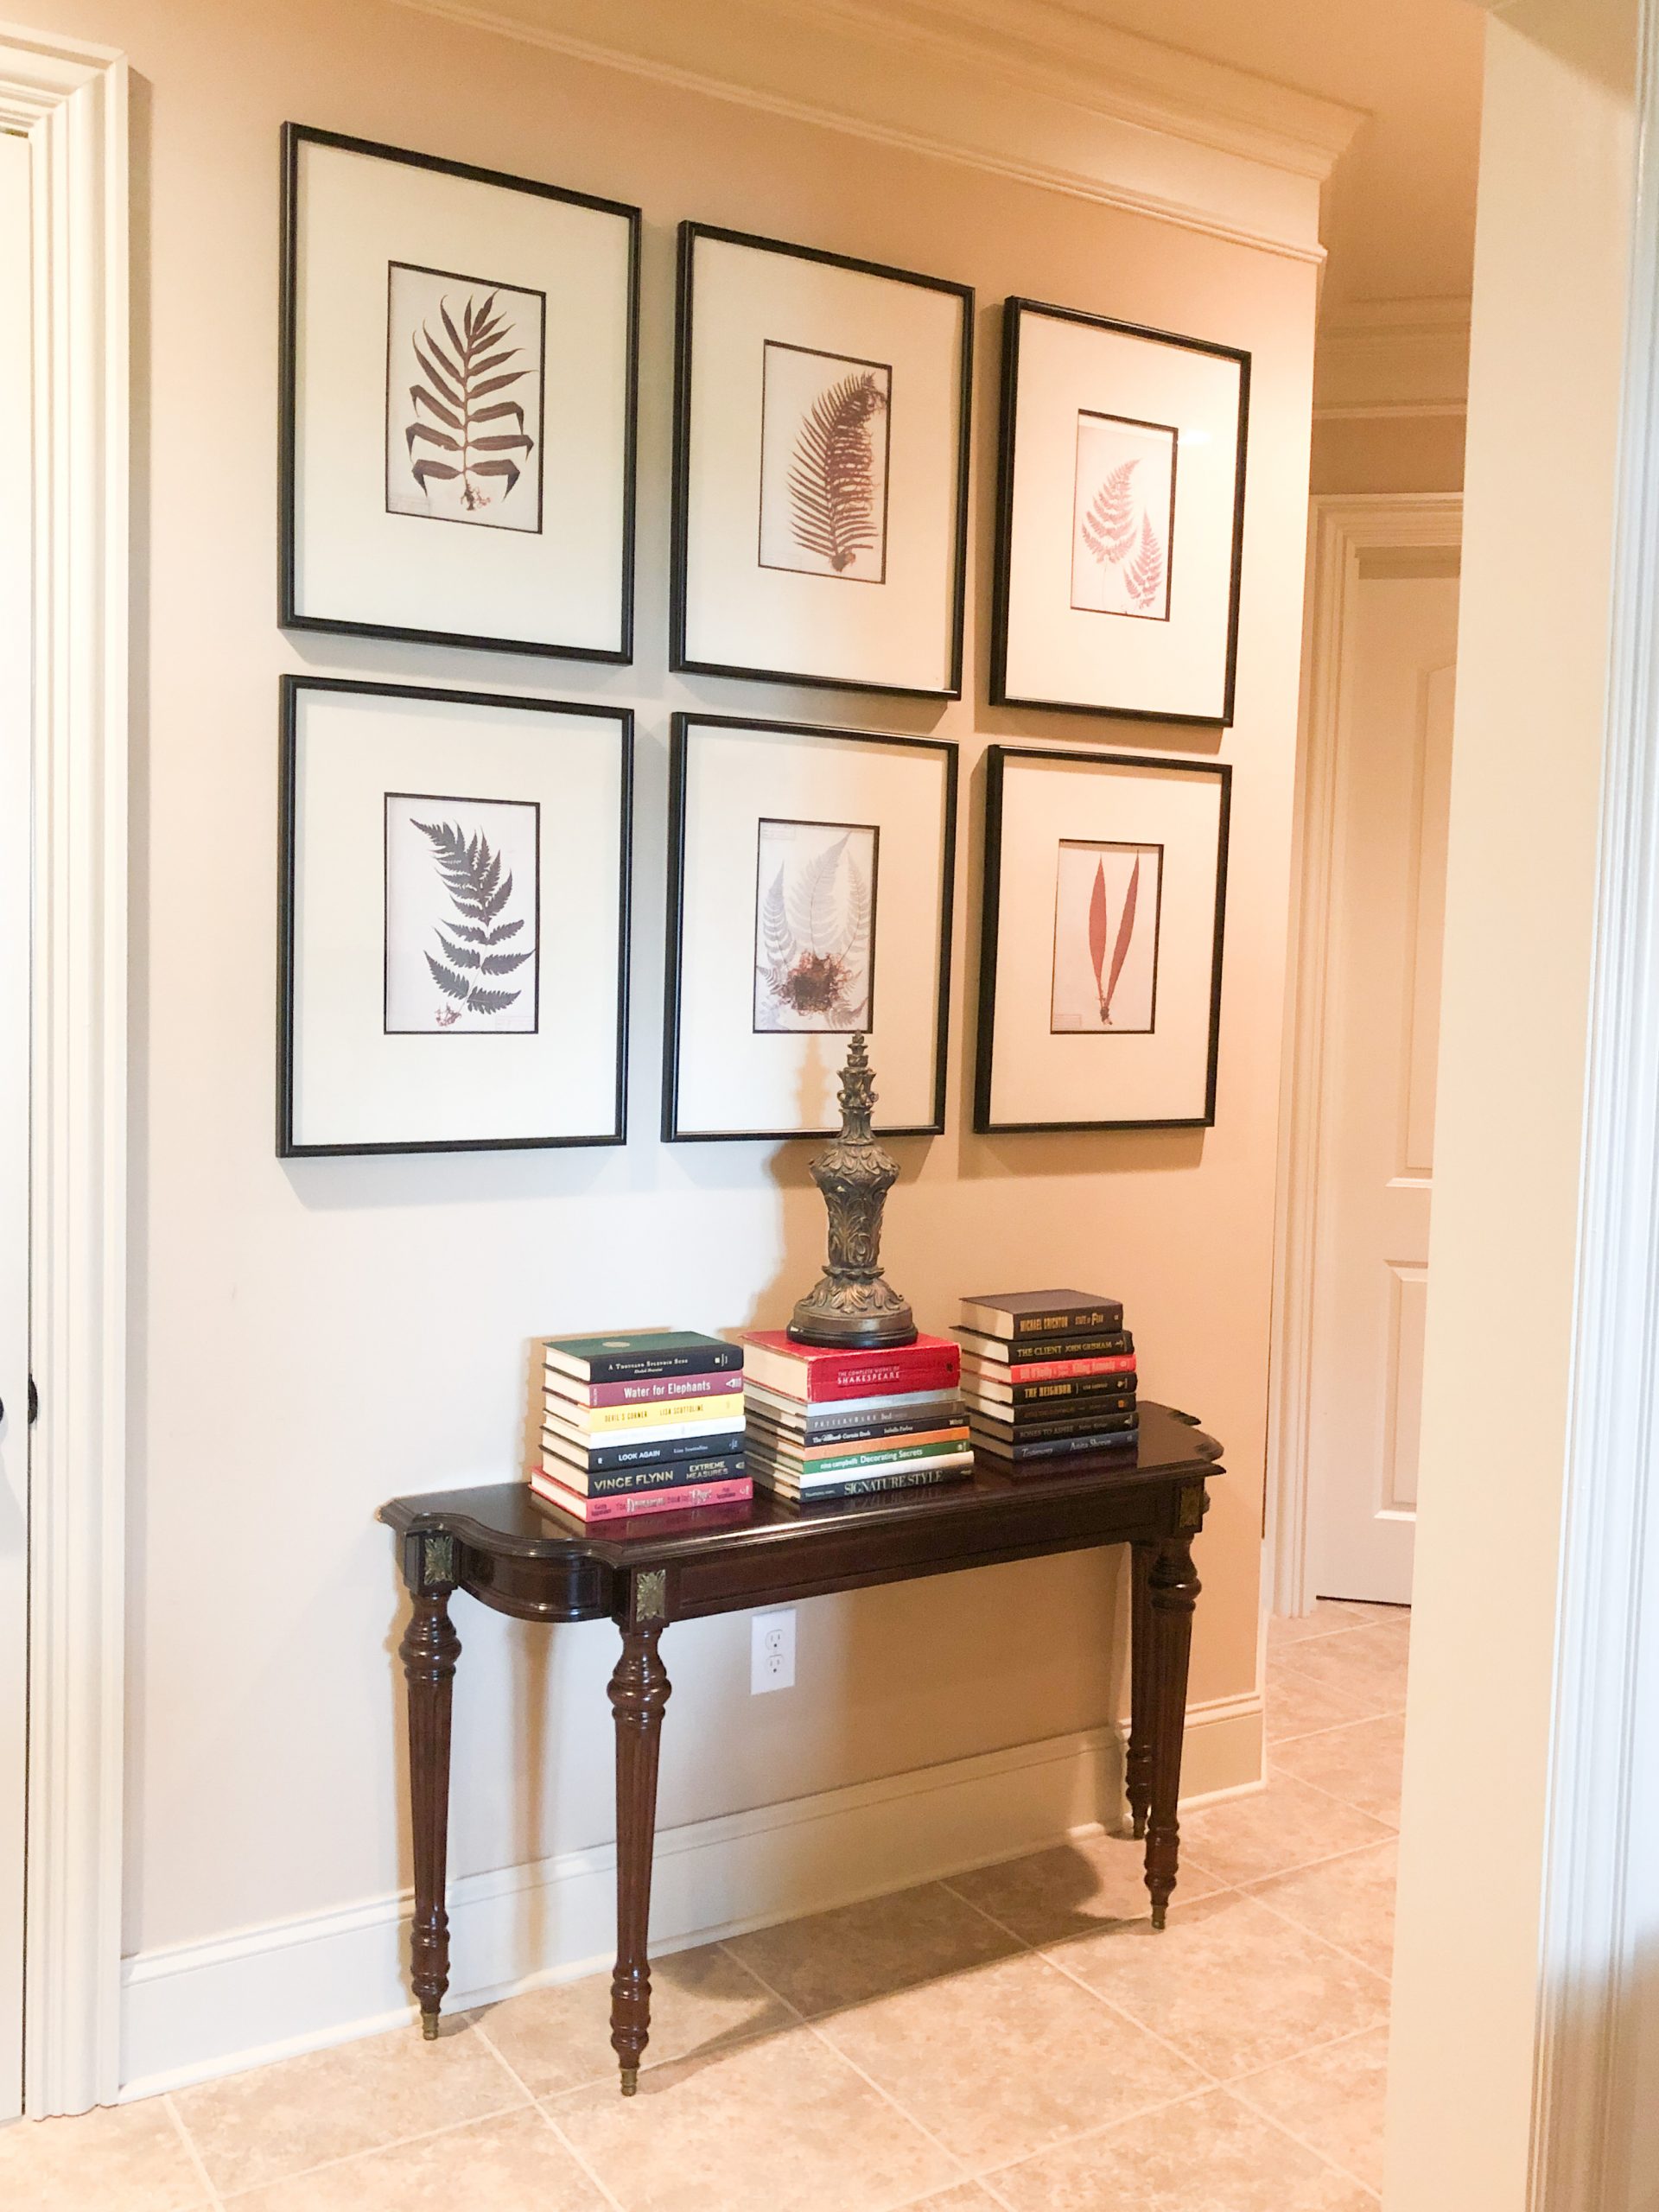
 This is the wall to the left of the wine cellar. I used the same measurements on the left as I did the right. It went surprisingly fast! I hung the rest of the prints and they lined up beautifully. I still need to add a few command strips to the bottom to keep them straight but they look pretty good as is. As you see, the two tables I have on each side of the door are very different. One is glass and the other a dark cherry. At some point I’d love to replace them both with matching console tables or cabinets but for now these must do. Also, I had a TON of books sitting under one of the tables. At first I couldn’t decide what to do with them. Then at 3 am in the morning it dawned on me! Why not display my favorite books ON the tables?

So, I took the book covers/ jackets off of all of the books and stacked them on the tables. I put the larger decorating books in the middle and novels on each side. Then I added a decorative finial to the stack of books in the center.

I did the same thing to the other table and wallah! The symmetry I was hoping for was achieved!

The top prints are slightly lower than the top of the door trim and the light switch on the left side is not obscured. Botanicals are pretty neutral therefore they don’t compete with the rest of the pictures downstairs. I like the fact that the prints are the same distance from the door and so it looks symmetrical even though the width of the walls are not the same. And they say every room needs a little black, so there you go! Black frames!

Now when you are looking into the hallway from the lounge, it looks balanced and orderly. And the books look much better stacked on the tables rather than underneath. I still think matching tables will make it look even better! Now just to convince my husband!

And a quick before and after. Much better, right? Because I already had these botanicals, the cost was zero. It took me about an hour to measure and hang the pictures and I got it done just in time for our company!

 And a before and after of the books…


Well, now that my website is up and running again, I hope to share with you a few more projects and some yummy recipes! Thanks so much for stopping by and supporting my little blog! Take care and I hope you have a wonderful day! Much love, Dell