
Happy Monday, friends! It was a busy weekend around our house! My craft room is finally finished! Well, it’s still a storage room as well, but my husband and I carved out a little corner just for me. Come see the craft room reveal!
In case you missed it, this is where we started last week. The storage room in the basement is quite large. We store a LOT of stuff in here, but I wanted a designated place where I can work on projects and crafts. But, the insulated walls are creepy and unattractive. So, my husband Brad and I put on our thinking caps and came up with a solution!

We added white bead board panels to the walls. This alone made a huge improvement!

This is the view from the same angle. The closet you see is piled high with pictures and mirrors. I’m hesitant to get rid of them until I finish decorating the house and until our sons move into a house of their own. (They are both currently renting.) I will hang a tension rod and curtain over this door as soon as I finish putting everything away to hide the clutter.


I patched the staple holes with putty and the seams with paintable caulk. On Friday I painted the bead board. I chose a satin finish paint by Valspar called, “Perfect White”, which I found at Lowe’s. I decided to go with a satin finish because I didn’t want it to look too glossy, but still able to wipe off boo-boos. The paint had a slightly textured look as I was rolling it on, but dried in a nice flat finish.

My husband, Brad and I hung some vintage brackets and used factory finished white boards as shelves. Brad cut them down about 12 inches to fit the space. We put the finished edge where it is visible and the unfinished edge nearest the wall.

For added support we added a 1″ x 2″ piece of board under each shelf and screwed them into the studs. I painted the boards white to match the bead board and shelves. Now as I put heavier things on the shelves, they don’t sag.

Here’s how the new shelves look! I wish we could have put up sheetrock on the ceiling to hide the insulation, but that’s a huge undertaking and not high on the priority list.

For about $200 we were able to create this little craft corner. Not bad!

I have an old craft table which has a large work surface. The legs have taken a beating because of the move and have yellowed with age. So, I gave them a coat of “Perfect White” to match the walls.

And this is how my little craft corner looks!

I added a chandelier on a plug which will help with task lighting. And anytime there is a chandelier, it makes me happy! Crystals will be added soon, naturally.

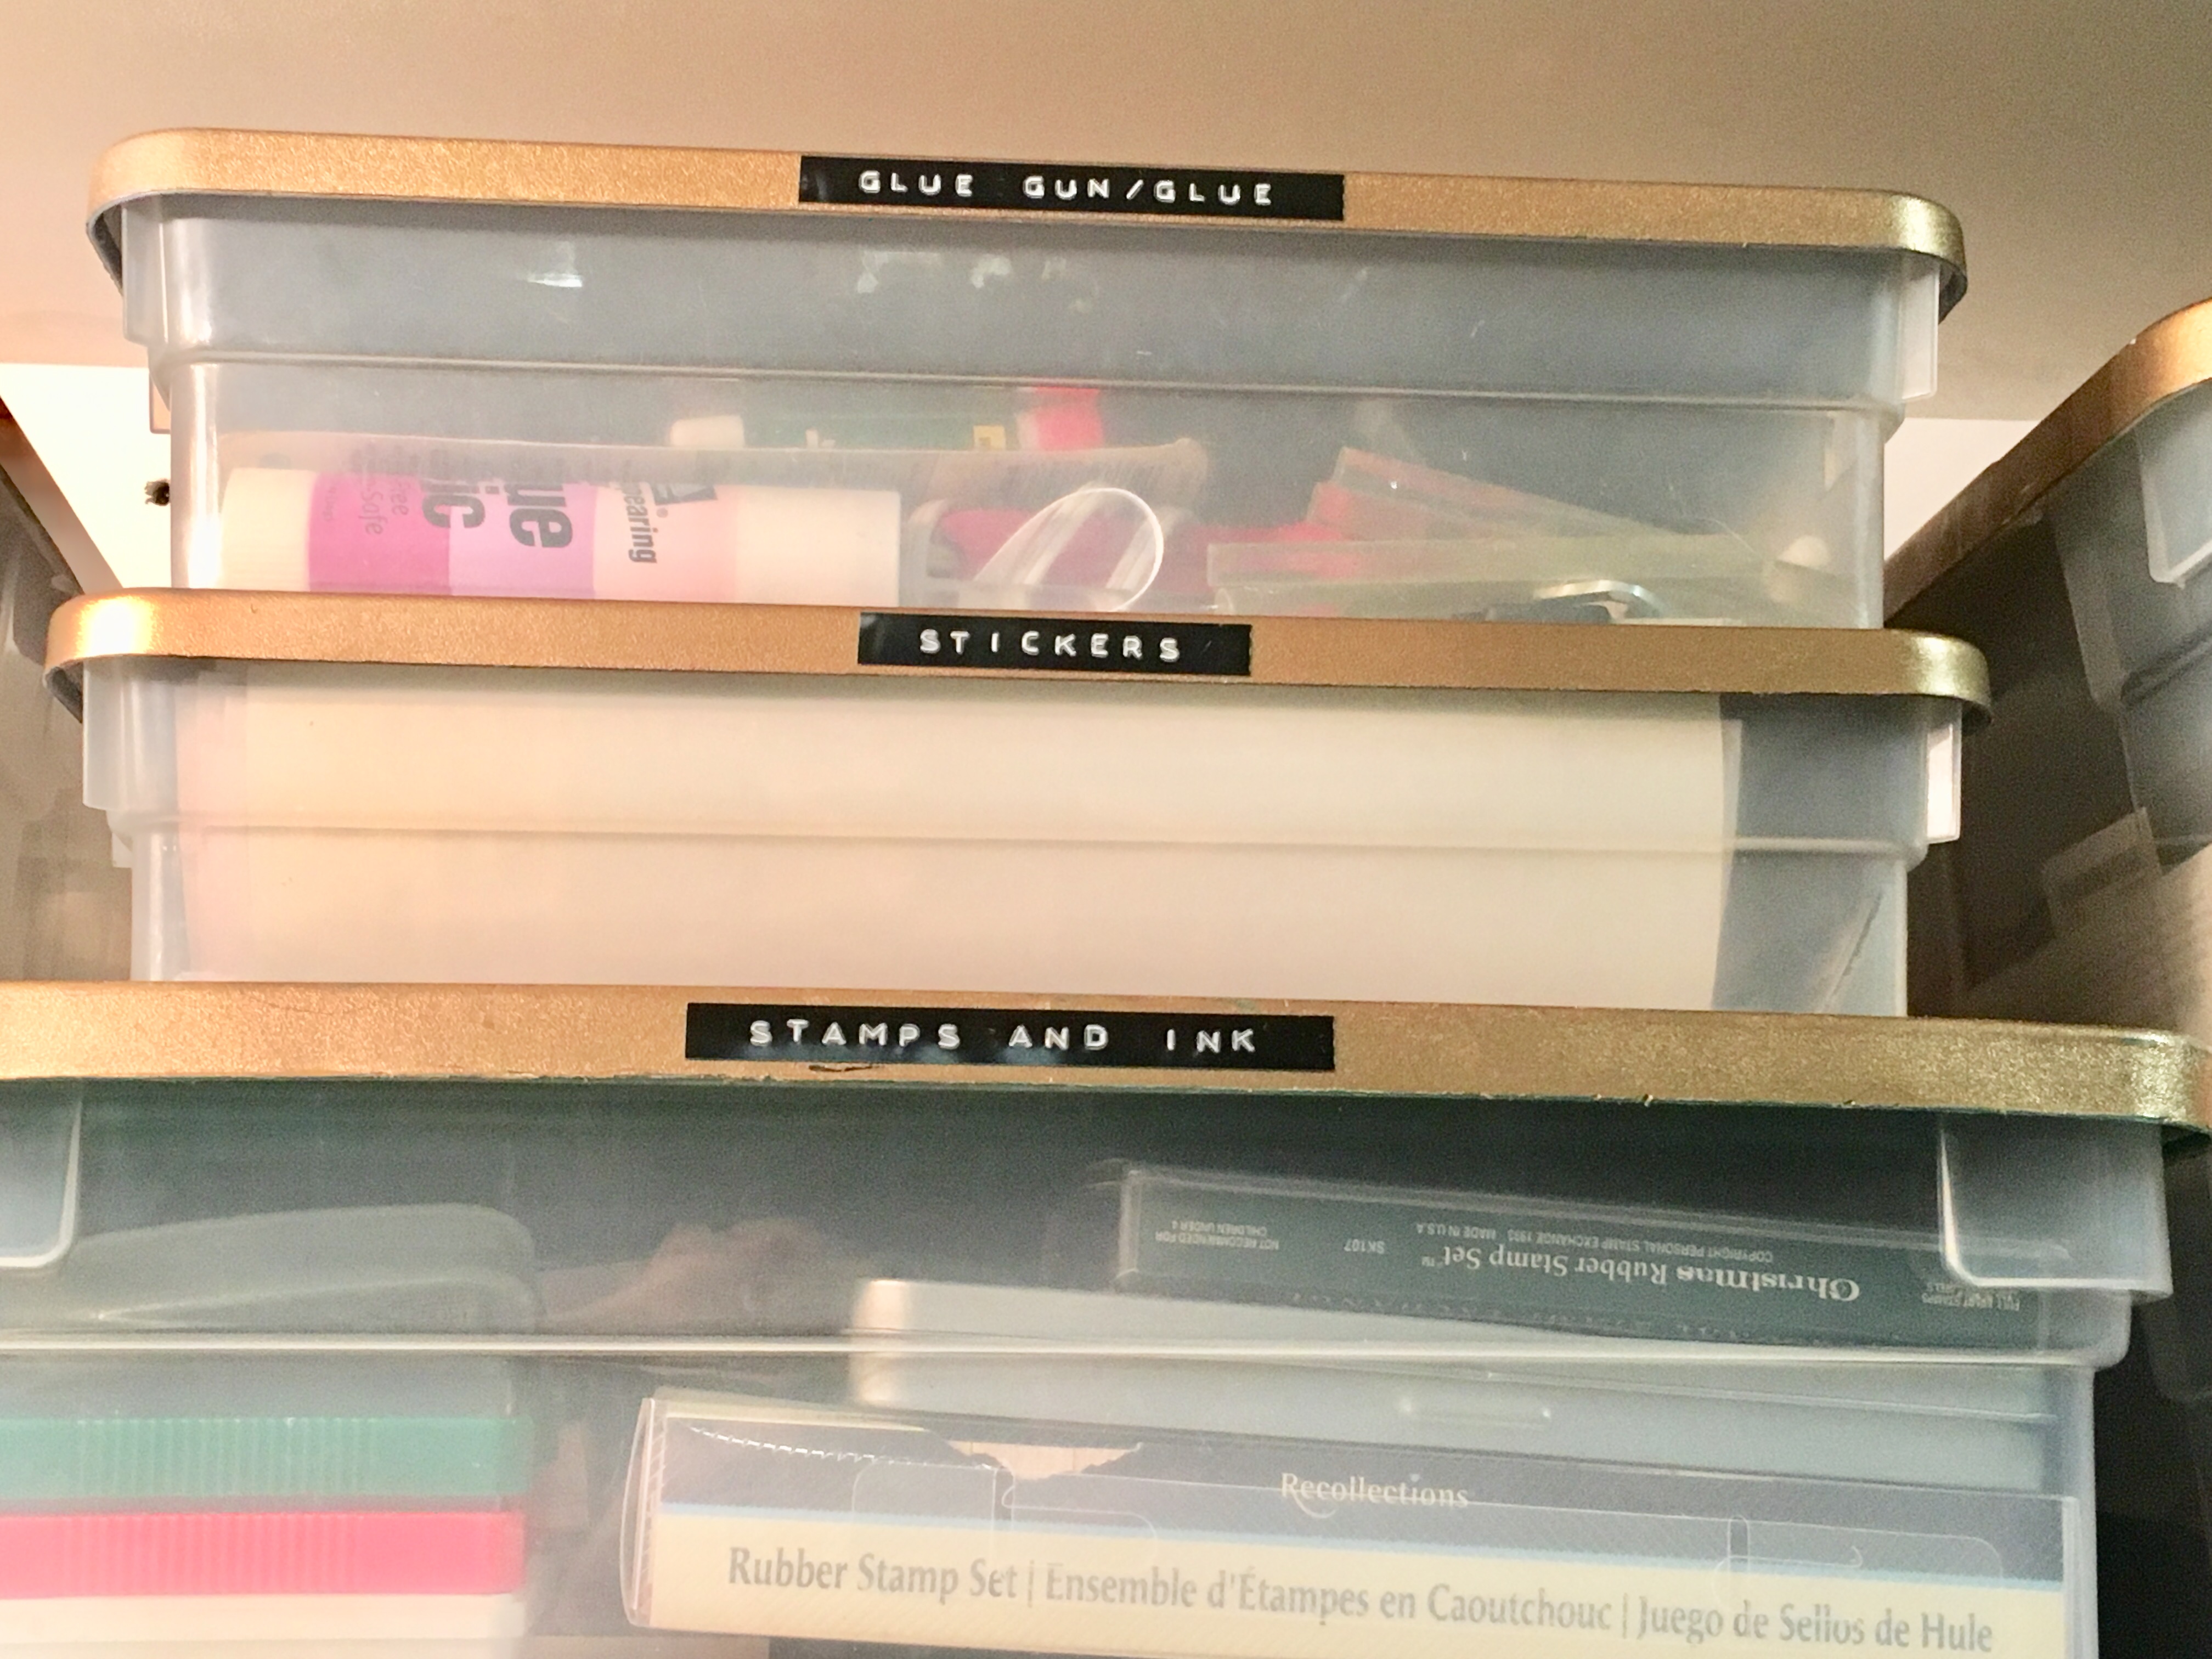
I organized the boxes of miscellaneous craft supplies and arranged them neatly on the shelves. A few years ago I spray painted all of the lids gold. I think it’s time for a touch up!

Now all of my supplies are within easy reach.

I made labels for each box so I can easily identify the contents.

Whew! A few days worth of work and my little craft area is finished! What a difference, right?


After the shelves were up, I re-hung my chandelier collection from the hooks in the ceiling. This area looks 100% better. Now I have a designated spot to work on my crafts and chandeliers!


I am still working on getting the gift wrap station organized so I’ll share that with you later in the week. Meanwhile, thank you for stopping by! Stop back tomorrow for another fun reveal from a friend! I hope you have a great day! xoxo Dell