
Happy Monday, sweet friends! I hope you had a fabulous weekend! Today I want to share one of the fun DIY paint projects courtesy of my son! Come check out a chandelier makeover with paint!
My older son and daughter-in-law bought their beautiful home about 3 months ago. They have been super busy ever since. Not only are they both working, but they have a precious 6 month old little boy. Somehow, they have still managed to totally transform their home in just a few short months, and make it their own! One of the things they have done is add new lighting. And we can all agree that nothing is more transformative than good lighting!
So, this pineapple shaped light fixture in the kitchen dining area came with the house. The fixture itself is really, really cool and pretty. But, a little too small for the space. The kids decided to move it to a small hallway outside the office and powder room, where the size and scale are perfect. They wanted a larger statement piece for the kitchen nook.

I had this pretty brass chandelier in my stash. It was given to me by my sweet neighbor and electrician friend who knows I love to rescue interesting light fixtures. It’s solid brass, very heavy and high quality. He had taken it out of a house that he had rewired and they were tossing it out. So, he gave it to me.

The details on the chandelier are beautiful, but alas, I didn’t have a place for it. And I had gotten it for free, so naturally I was happy to pass it along!

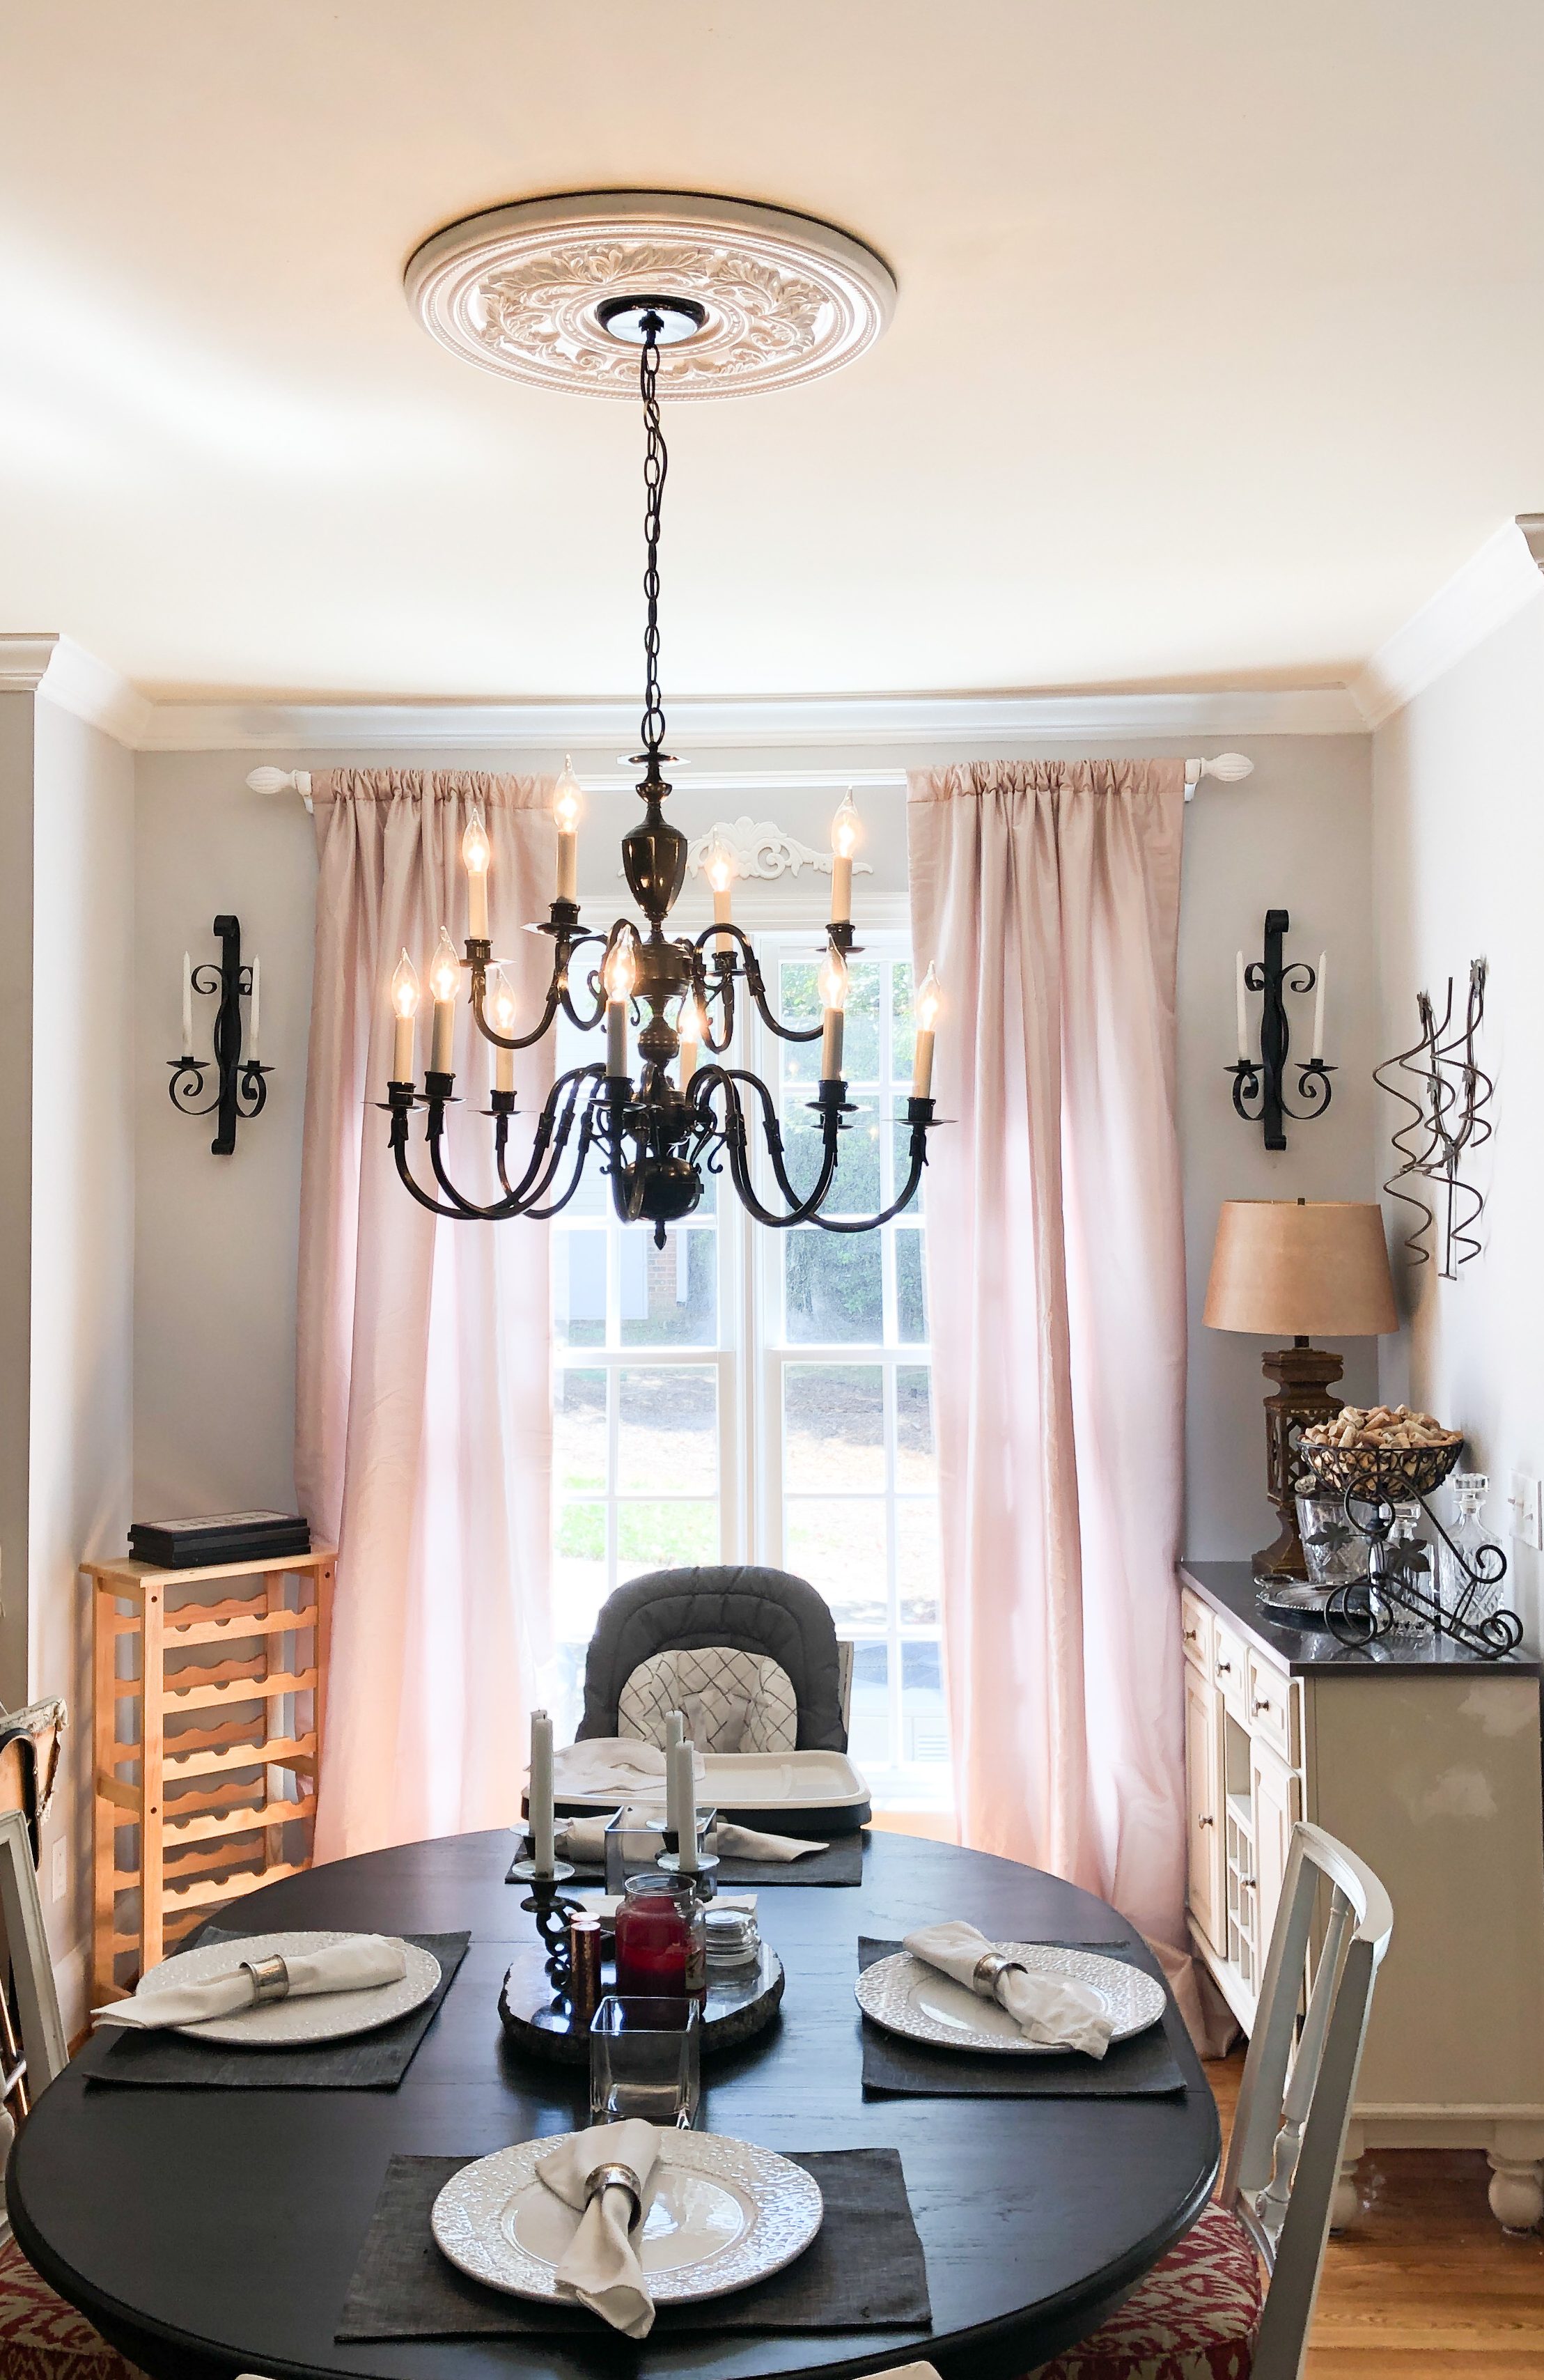
My son, Chase, loved the shape and scale of the chandelier and knew all it needed was a little TLC. And paint! He gave it a few light coats of glossy black paint (two cans of paint to be exact) and it totally transformed the fixture! Our same neighborly electrician came to hang several light fixtures for the kids.
There was one little glitch in hanging the new fixture. The old light was slightly off center. So, the electrician moved the junction box about 4 inches to the left so the new chandelier would hang in the center of the space. This leaves a dilemma as far as patching the hole etc.

The solution? Use a ceiling medallion to cover the old hole. And a bonus? It adds a bit of architectural detail to the space!

I think the chandelier looks perfect in this kitchen eating area! The color of the chandelier beautifully mimics the other black accents in the room. (And follows an old designer adage about every room needing a touch of black!)

Here is another angle of the kitchen eating area. (Photo credit: Brie, our talented and beautiful daughter-in-law)

If you love this look, you can certainly find these great brass fixtures on Facebook Marketplace or your favorite consignment store for a reasonable price. These beauties are often overlooked, but you can’t beat their weight and quality. You can paint them any color you wish to go with your decor. I’ve even seen one painted a vibrant hot pink for a child’s play room. All you need is a little paint and imagination!

I’m always amazed at how lighting can completely change the look and feel of a space! The new chandelier better fits the scale of the dining area and gives off significantly more light. Win-win! The kids had the fixture put on a dimmer so they can alter the amount of light in the room with the flick of a switch. I absolutely love how the chandelier looks in this room. So dramatic and elegant, don’t you think? And you can see it when you walk in the front door, which I love.


Well, friends, there is so much more to share around here between our house, our son’s house and our lake house. Be sure to check out the blog for more fun paint projects and more DIY surprises! Thank you for stopping by and let’s chat again soon! xoxo Dell