
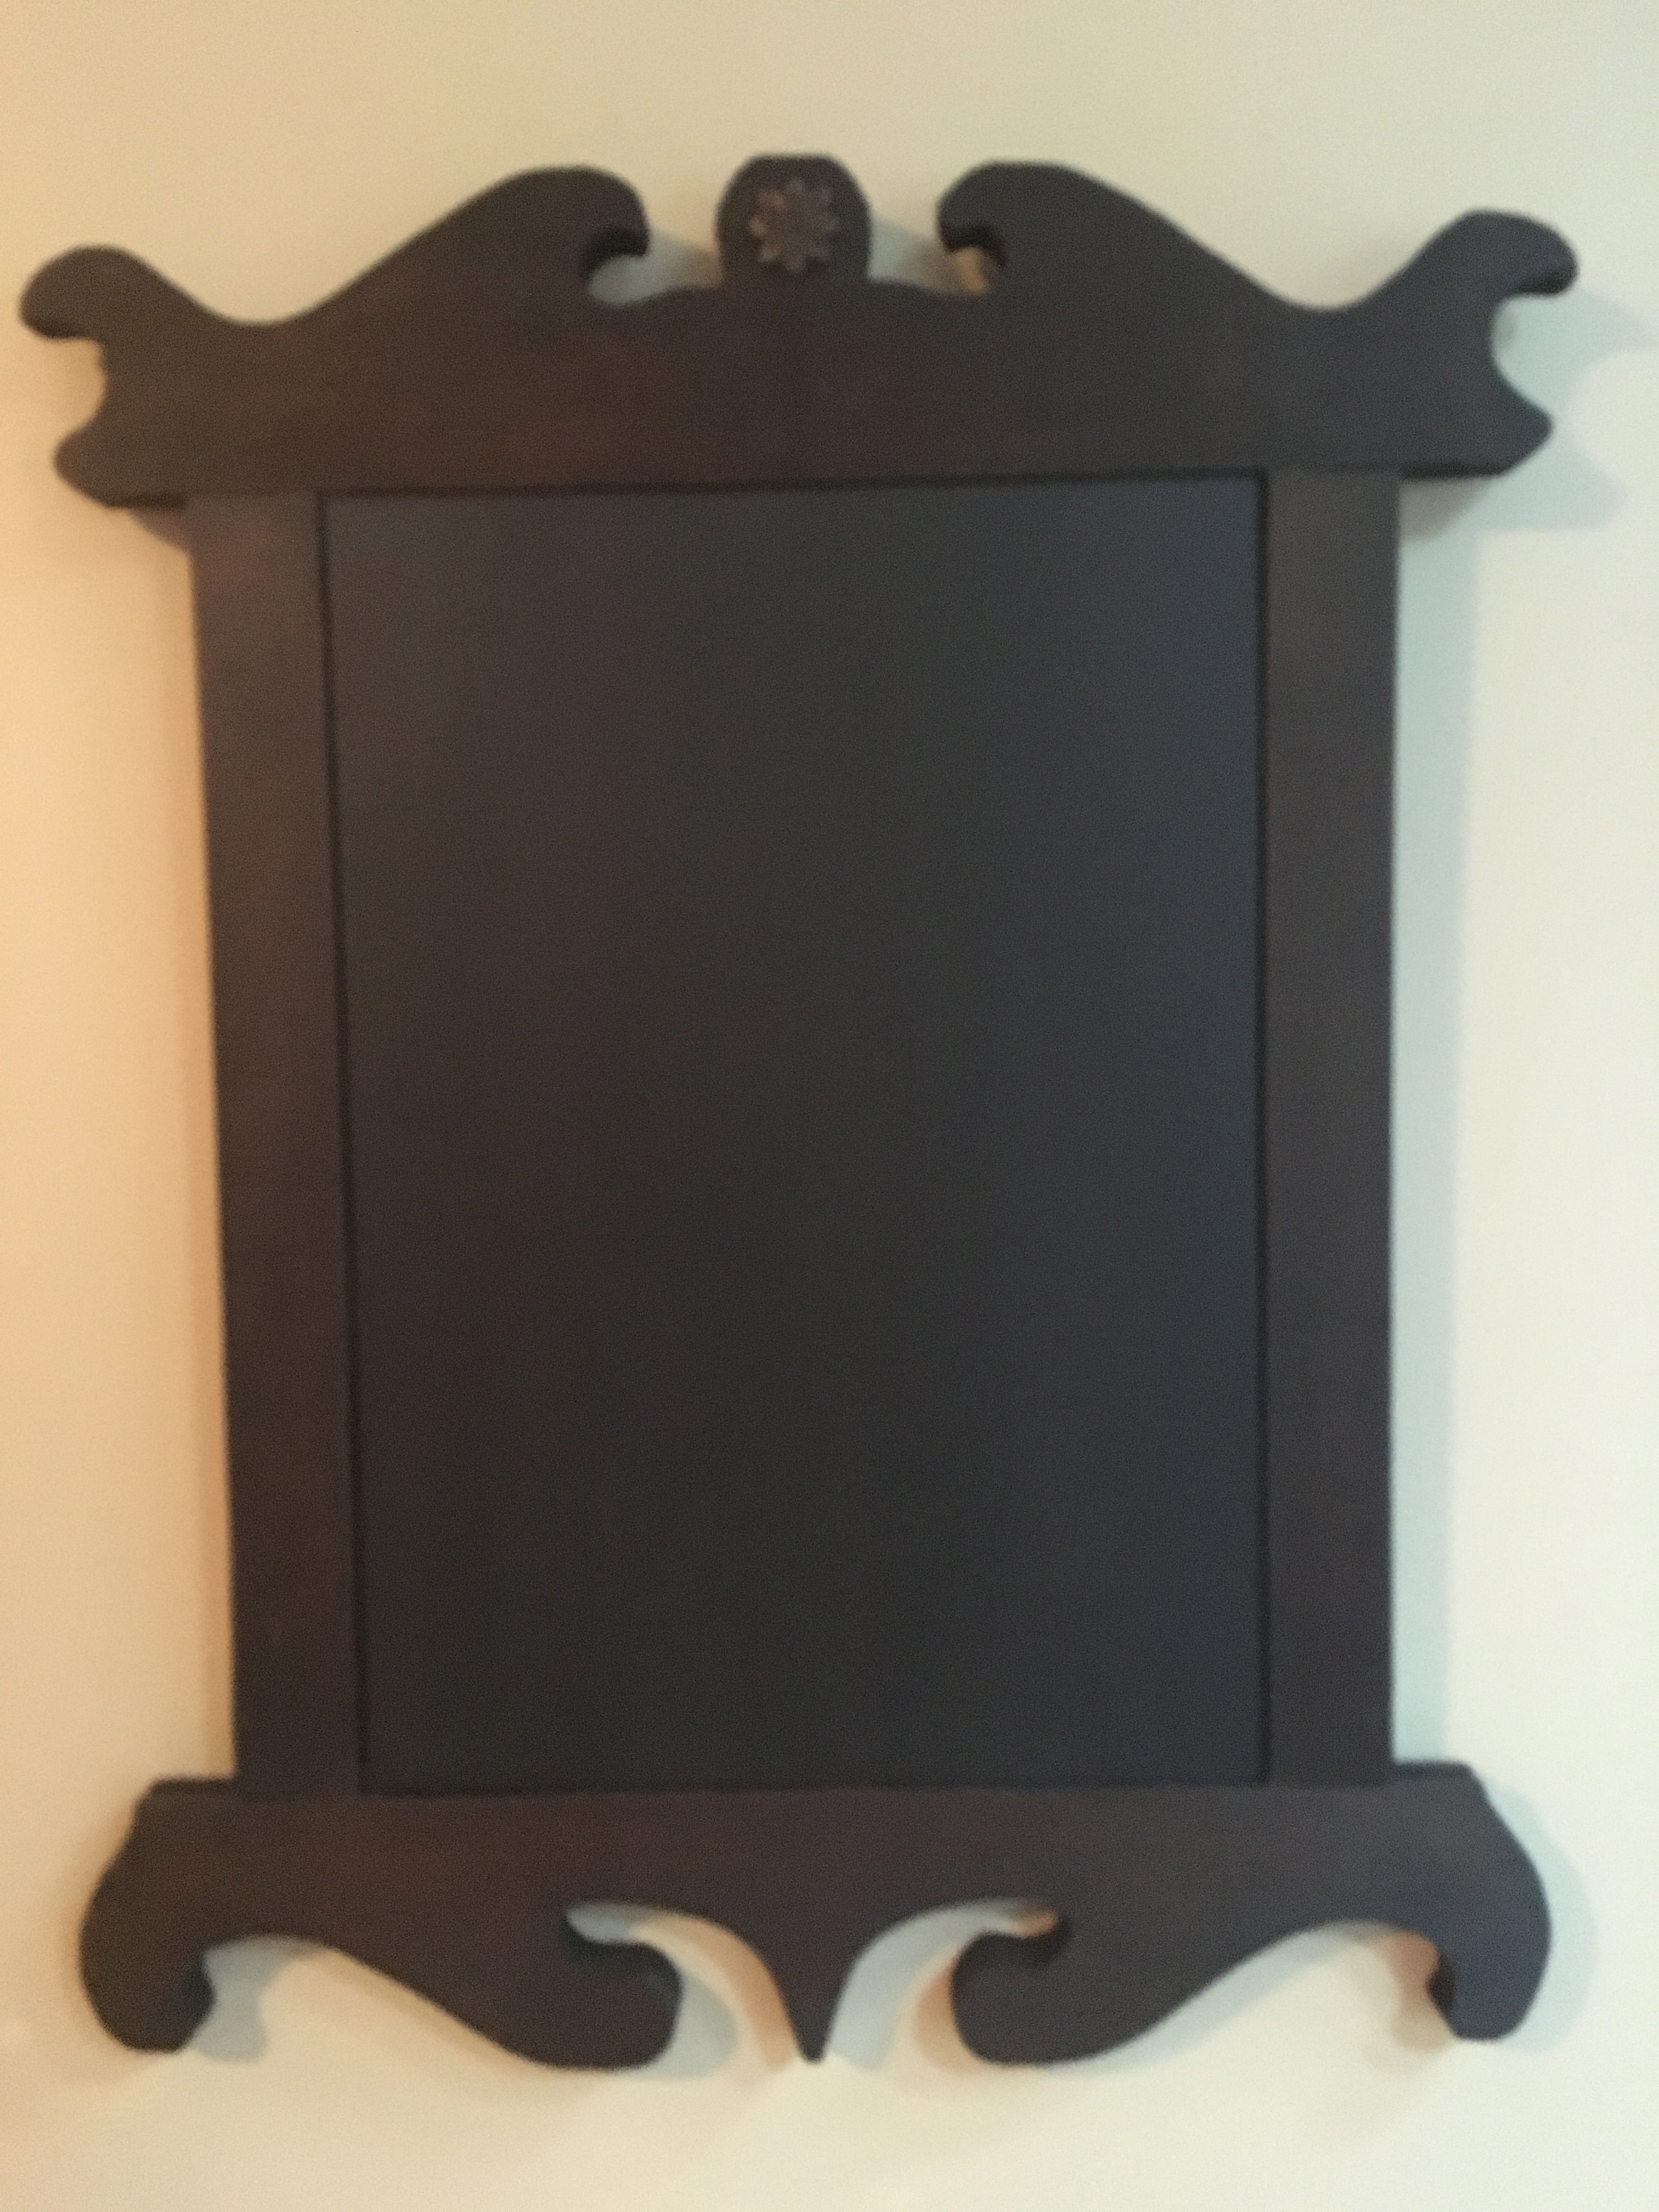
I found this cute frame a while back. I’m not sure what it was originally, maybe a mirror, or a sign? Anyway, I decided it would work nicely as a chalkboard and when my husband volunteered to help, I jumped on it!
This was a fairly quick and easy project. Waiting for the glue to dry was the longest part! The frame was pretty dusty and dirty so I brushed it off and wiped it down well. I sanded it a bit to get rid of the rough edges. Then, I brushed on a dark stain and immediately wiped it off with a clean cloth. The wood was so old and dry it soaked up the stain very quickly.

I glued a small wood medallion on the center top piece to give it a little more dimension and interest. Then, I rubbed on some light wax.
My husband cut a board to fit inside the frame and I painted it with two coats of black chalkboard paint.
We used liquid nails adhesive to glue the board into the frame. We weighed it down with paint cans and melting salt. (the heaviest things we could find) We let it set for about 8 hours and it was dry!

It might be fun to add a few hooks for keys and chalk so this could be a message center. I hung some eye hooks on the back and a piece of wire for hanging. It’s good to go!

Tip: I’ve read that before using a new chalkboard you should “season” it, meaning you should rub the side of a piece of chalk all over the board and then erase it. An unseasoned chalkboard can leave permanent marks so it’s best to do this small extra step before drawing your masterpiece! (this one has not yet been seasoned, but it will be!)

