
Hallelujah! The hobby/craft room is finally operational! I’m glad I took pictures so in a few days I can remember what it looked like all nice and clean before I started working on things in there!
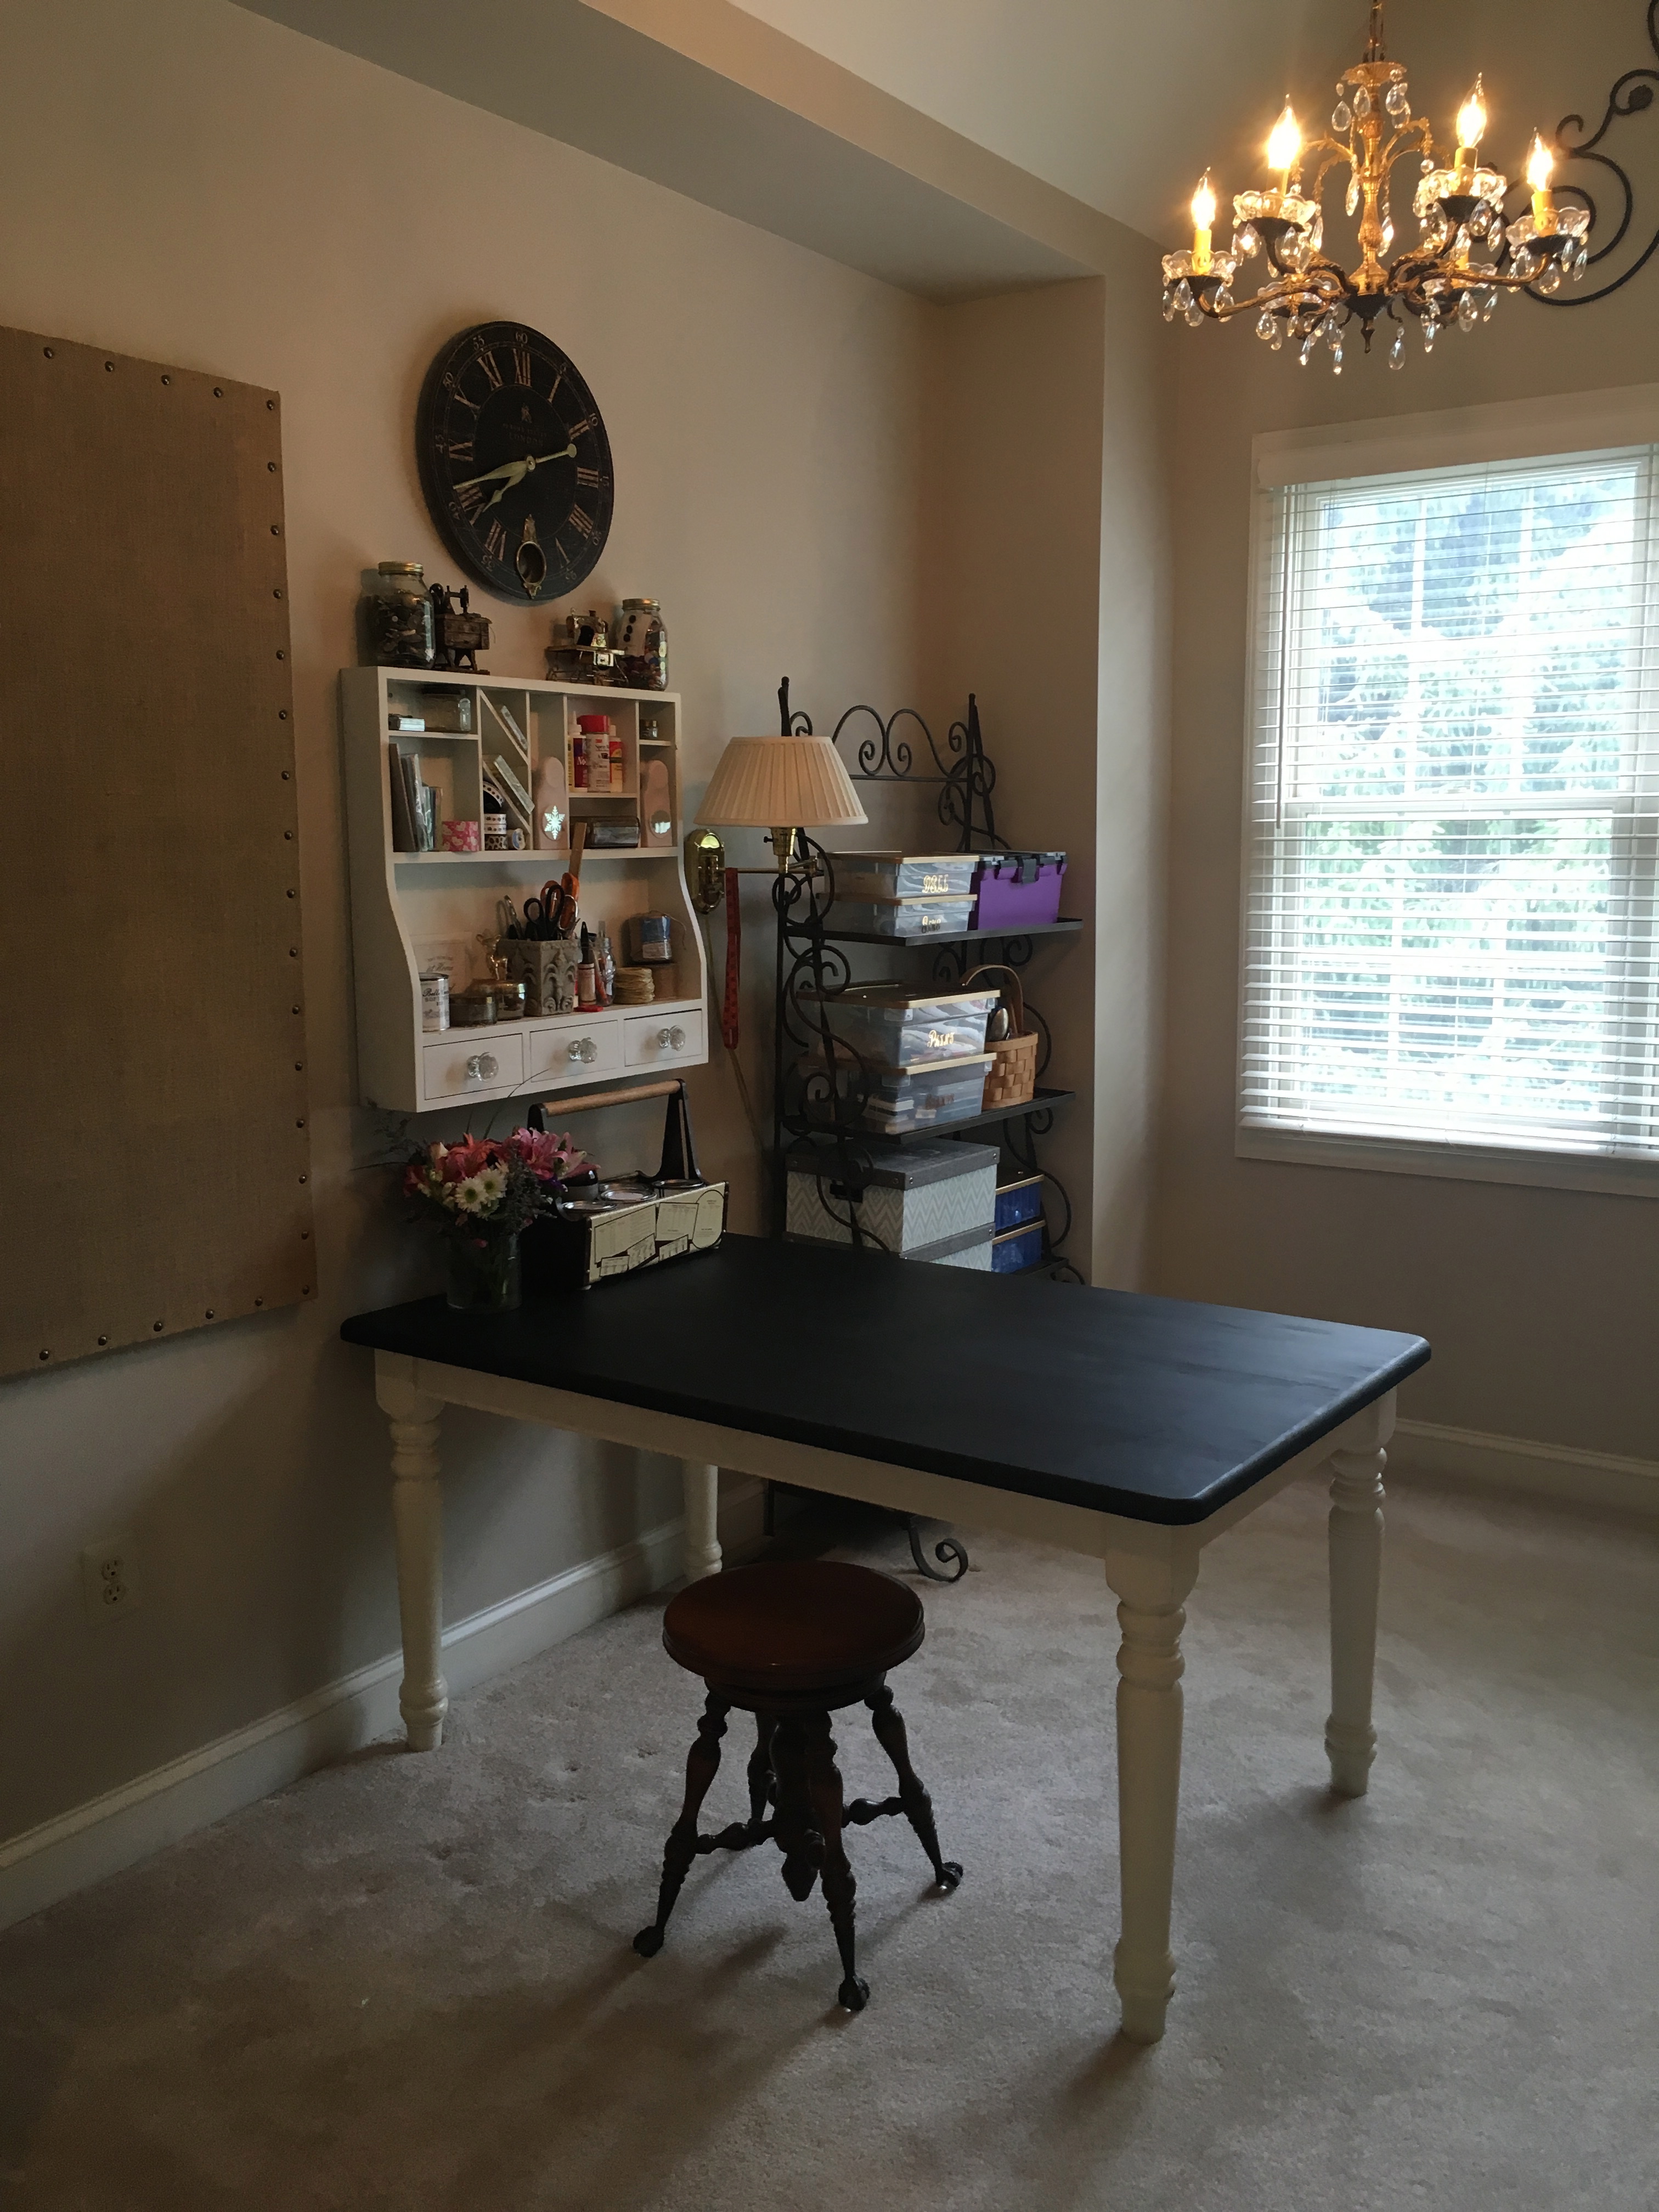
The main goal for this room was to be able to have a large sturdy surface in which to work and be able to leave things to dry, or come back and finish them later without them being in the way. Before I had one of those folding tables and it was not very stable. So, when my friend gave me this table, I knew it would be perfect! It weighs a ton and all I did was paint the top with black chalk paint and rub it with a light coat of wax. I’ll still put something down on top of it when I work just so I don’t scratch it up too badly, but I’m not too concerned about it getting dings etc. It IS a work table after all. Below are the before and afters.
The before was actually much worse than it looks. I like it better black. Check out more details on this room in progress here.


I rearranged the room and put the table so it rests against one wall and the rest sticks out in the room. This will make it easier to cut fabric, or work on 3 sides of the table. I have a feeling I’ll work on the back side with my back to the window so I can reach all of the supplies better.

I bought this wall organizer a few years ago. It was painted dark pink. Although I do love pink, it was a bit much. I painted it white and replaced the wooden knobs with vintage crystal knobs – if you don’t hoard vintage stuff like I do though, you can always find great glass knobs at a good price too.
I added some old jars with buttons and supplies and extra goodies in the little drawers. All within arm’s reach now. The swing arm lamp adds nice extra lighting.


To the right of the wall organizer and table is a backer’s rack that neatly holds my tool box, and boxes of craft supplies. I got this one in the picture a long time ago but I was surprised at how affordable Baker’s Racks are these days. I love that everything is in one place, labeled and easy to find now!

The chandelier was already in here but I cleaned it up and added a few more crystals. (It helps me think.)

On the opposite wall is my sewing machine. It doesn’t see a lot of action these days, but I still like to keep it out and handy. The cabinet to the left of the sewing machine is one that my husband built years ago as a microwave stand. Now it stores fabric, books and patterns.

To the right of the sewing machine is a vintage sheet music cabinet. It stores plastic sewing bins with additional sewing supplies. On top is a cute little house shaped what-not cabinet that I’m sure will be for my future grand daughter’s room one day. For now, it holds some of my paint and craft supplies.

I love this big bulletin board a friend of mine gave me. It is from Ballard Designs and is very heavy. It will be my inspiration board.


TIP: Usually when I hang pictures or mirrors I end up putting lots of extra holes in the wall. (thank goodness for putty!)
But, I saw a cool tip recently and I hung it in one try! I wanted to hang the bulletin board vertically so I put a piece of painters tape on the back of the bulletin board so that the tape covered both hangers. I marked the center point of each hanger with a marker and measured how high up on the wall I wanted it to hang. Then, I removed the tape and put it on the wall at the right height. Also, I used a yard stick and a level and marked where the holes needed to go. Since the piece was so heavy I used wall anchors and screws. They went in without a hitch and I hung it right up! I LOVE this tip. Now I can hang anything first try. If you have a wall that will not support anchors, try this magical little thing called an Ook (they can hang just about anything with ease)


Of course the hobby room is super clean right now. I hope I can keep it this way! Now I can get started on all of those projects!! And I’m getting a new camera this week, so learning how to use that should be awesome! Have a great day!


